You love the crunchy, savory bite of Chex Mix but miss it since going gluten free. This gluten free Chex mix recipe gives you the same crunch, coating, and flavor without compromise. You'll learn how to keep the pieces separate, evenly seasoned, and perfectly crisp.
The secret is even coating and low-and-slow heat. Prep on a lined baking sheet and use a sturdy bowl to toss. Grab a rimmed baking sheet and a roll of parchment paper so cleanup is effortless.
Read on for a simple 30–60 minute method, exact measurements, quick troubleshooting, and storage tips so your gluten free Chex mix is snack-table ready every time.
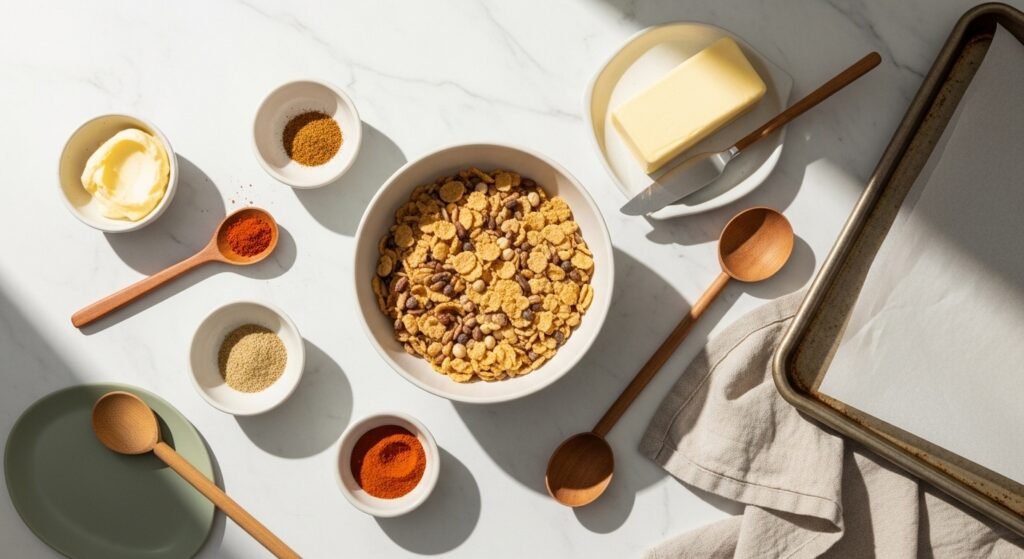
Preparing Your Ingredients (easy, 10 minutes)
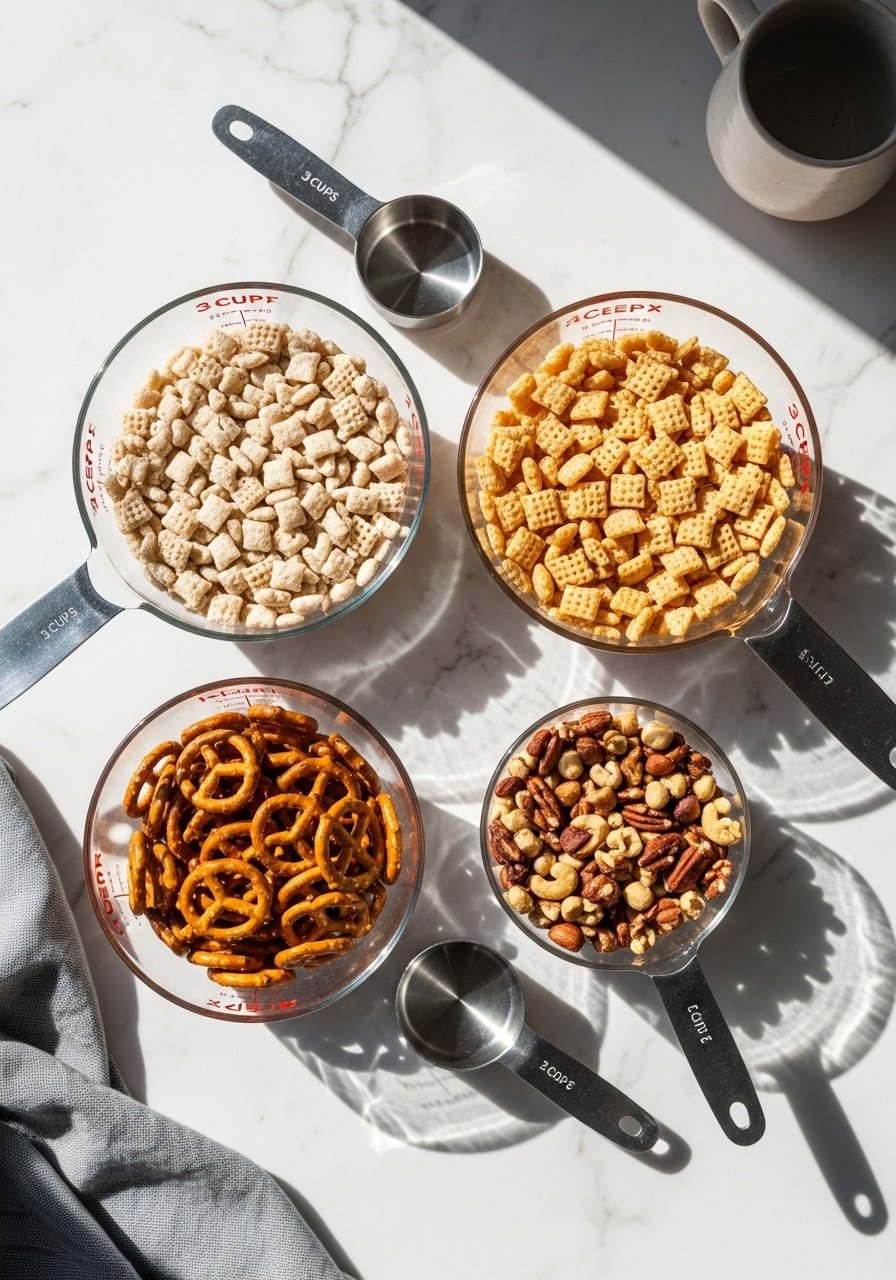
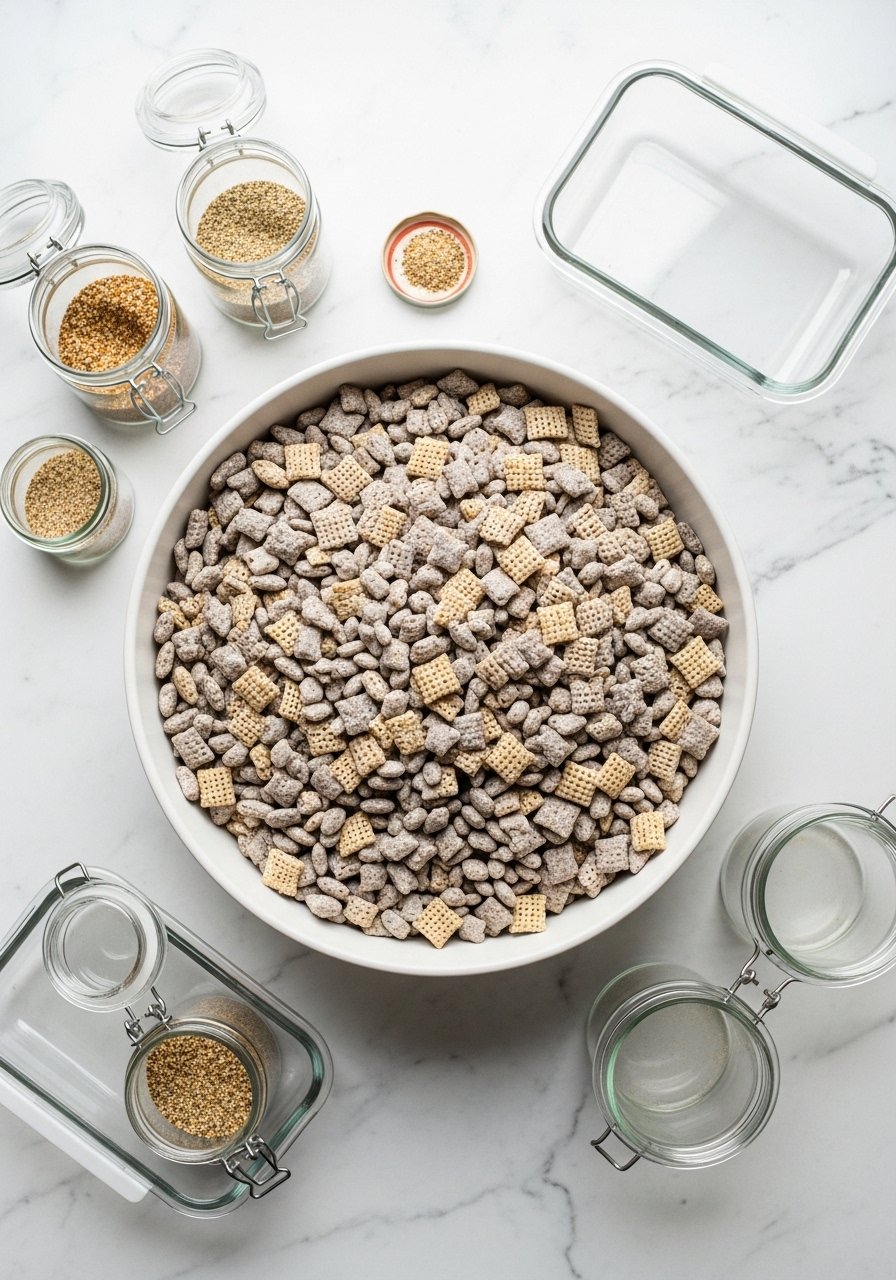
Start with dry ingredients that stay crisp when baked. For a balanced batch:
- 3 cups Rice Chex
- 3 cups Corn Chex
- 2 cups gluten-free pretzels
- 1 cup mixed nuts (almonds or peanuts)
- Optional: 1 cup gluten-free bagel chips or cereal crisps
Measure precisely using a set of measuring cups and measuring spoons. Accurate ratios keep the cereal-to-coating balance right so your gluten free Chex mix stays crunchy, not soggy.
Tips:
- Use labeled gluten-free brands for cereals and pretzels.
- Toast nuts lightly in a dry pan for extra flavor before mixing.
Making the Seasoning & Coating (30-minute, hands-on)
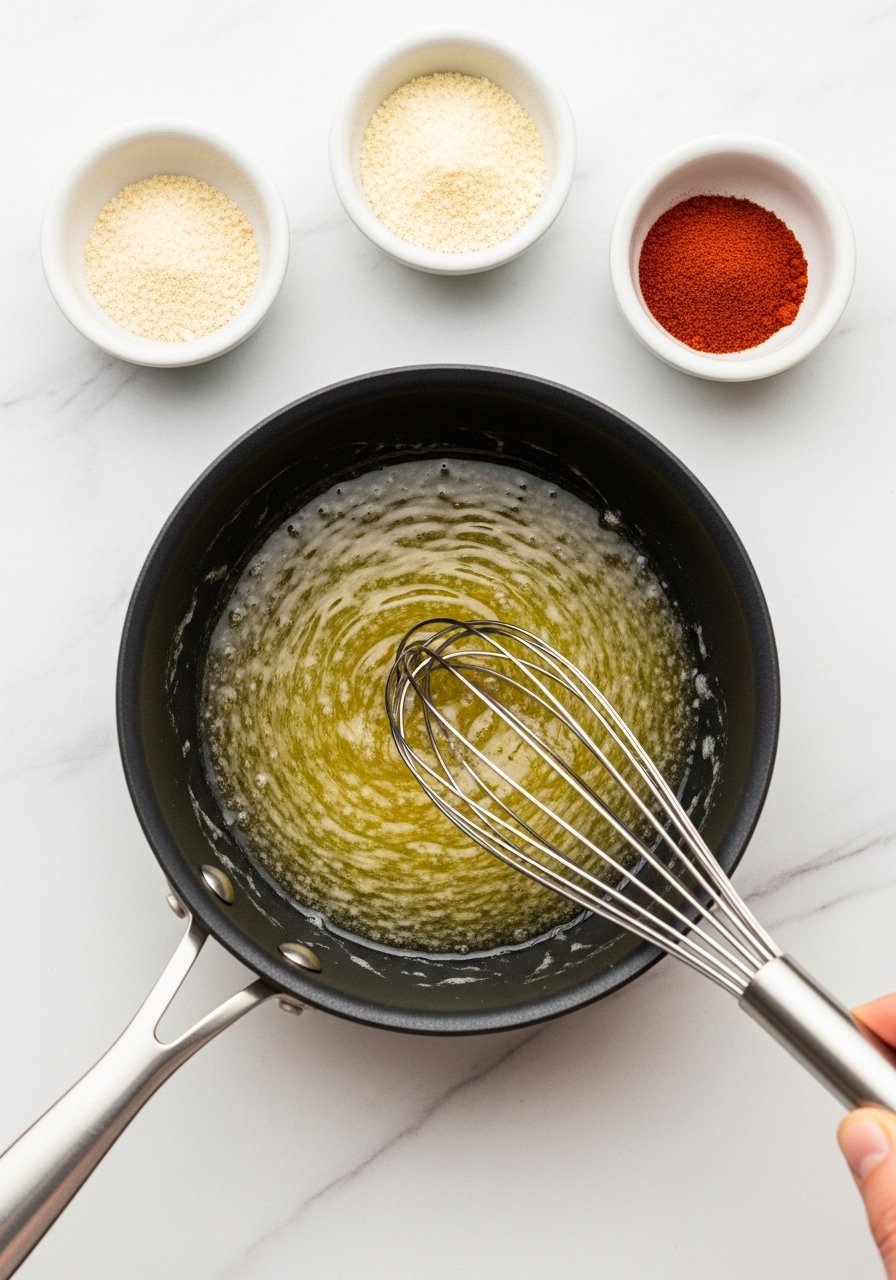
In a small saucepan over medium-low heat, combine:
- 1/2 cup unsalted butter
- 2 tbsp gluten-free Worcestershire sauce (or gluten-free tamari)
- 1 tsp garlic powder
- 1 tsp onion powder
- 1/2 tsp smoked paprika
- 1/2 tsp salt
Warm just until melted and combined, whisking with a silicone whisk. Don’t boil—too hot makes the butter separate and the coating greasy.
Pour the warm seasoning over the cereal mix in a large bowl. Toss with a silicone spatula until pieces are evenly coated. Work quickly so the cereal absorbs the flavor but doesn’t get soggy.
Pro tips:
- Heat tightens the flavors—warm the butter slowly.
- Toss in batches if your bowl is small to avoid crushing cereal.
Baking for Crunch (30–60 minutes at 250°F)
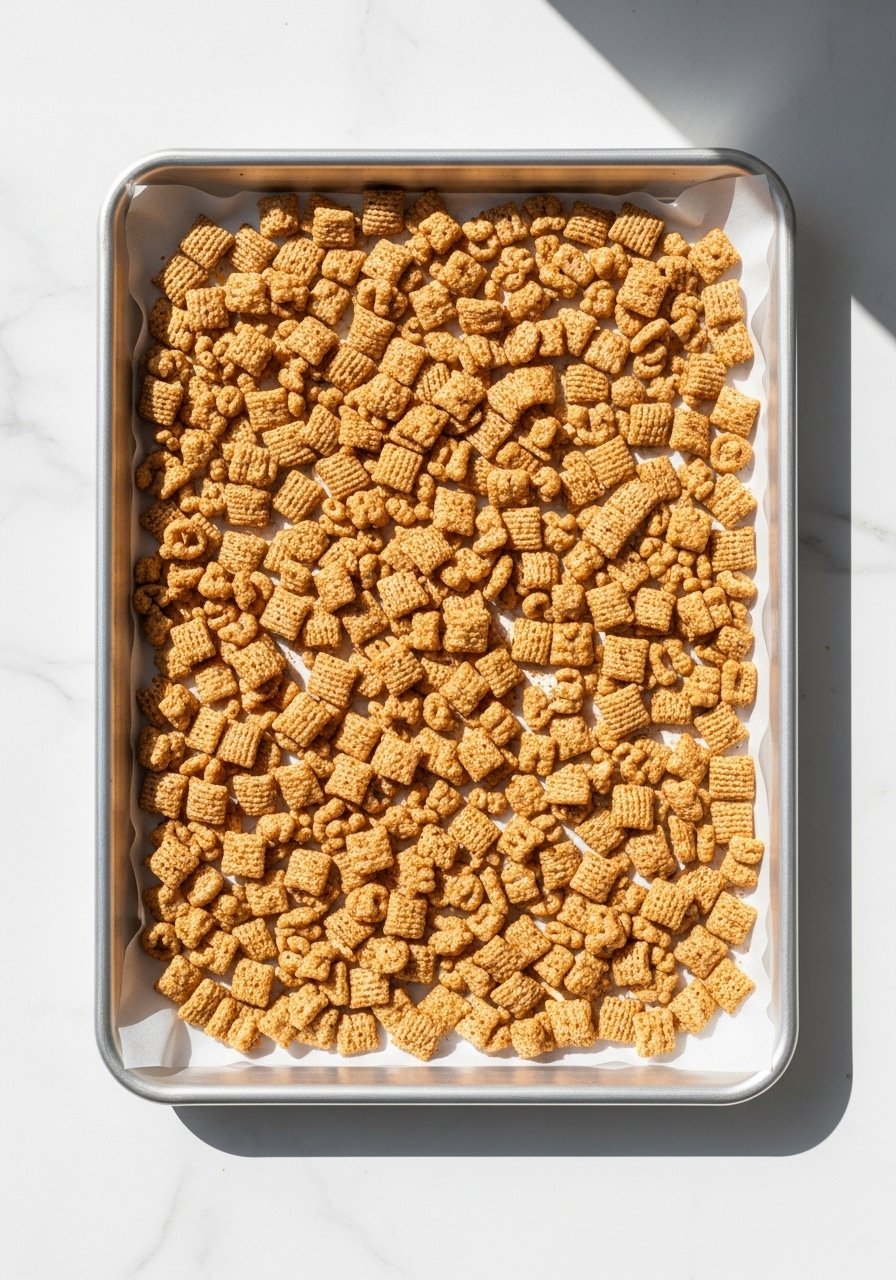
Spread the coated mix in a single layer on your prepared rimmed baking sheet. Use a silicone baking mat or parchment paper to prevent sticking and make transfer easier.
Baking steps:
- Preheat oven to 250°F (120°C).
- Bake for 45–60 minutes, stirring every 15 minutes to keep pieces separate.
- Remove when dry to the touch and slightly golden.
Transfer immediately to a wire cooling rack so steam escapes—this step preserves crunch. If it still feels soft after cooling, give it another 10 minutes in the oven in a single layer.
Warnings:
- Don’t rush with higher heat; that’s how you get burnt edges and stale texture.
- Avoid crowded pans—overlapping pieces steam instead of crisp.
Finishing, Serving & Storage (meal prep-friendly)
Once fully cooled:
- Toss with any add-ins (dried fruit goes on just before serving to avoid sogginess).
- Serve in a bowl or portion into small glass jars for gifting.
Storage guide:
- Store at room temperature in airtight glass storage containers for up to 2 weeks.
- Freeze portions flat in labeled freezer bags for up to 3 months.
Quick fixes:
- If your batch softens, re-crisp on a baking sheet at 250°F for 8–10 minutes.
- Keep salty and sweet components separate until serving for best texture.
Once you nail this, you’ll have a reliable snack that's party-ready and pantry-friendly. Save this guide and pin it for holiday prep or last-minute hosting. Which flavor twist will you try first—smoky paprika or extra garlic? Ready to mix? Let’s do it!