You know when store-bought garlic bread tastes flat and oily? Learn how to make garlic bread with fresh garlic that is bold aromatic and incredibly flavorful so every slice sings with garlic and herb goodness. This version uses fresh garlic, good butter, and a few simple tricks so you get crisp edges, soft centers, and real garlic flavor.
The secret is technique, not extra ingredients. Use a sharp serrated bread knife for even slices and a reliable garlic press or microplane to release those oils for a bold aromatic spread.
Read on and you'll learn ingredient prep, the mixing and cooking technique, timing, storage tips, and a couple of quick variations so you can make garlic bread with fresh garlic that is bold aromatic and incredibly flavorful—every time.
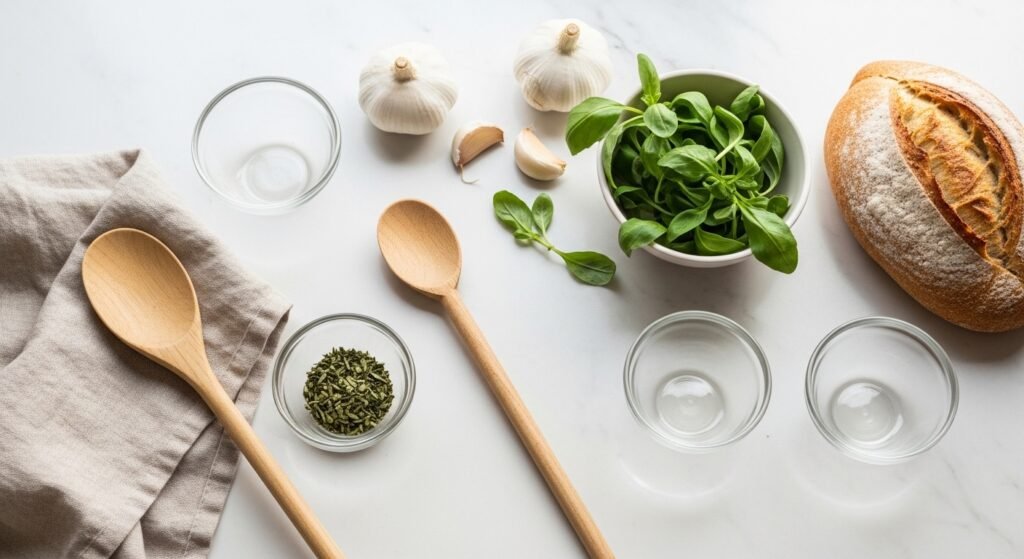
Preparing Your Ingredients
Start by cooling your expectations: this takes about 20–30 minutes from start to finish. For 4–6 servings, you'll need 1 loaf (French or Italian), 1/2 cup (1 stick) unsalted butter, 4–6 cloves fresh garlic, and herbs.
- Grate or finely mince garlic so it blends into butter. A microplane grater or your garlic press works best for bold aromatic flavor without chunks.
- Soften butter to room temperature for easy mixing. Use small glass prep bowls to hold herbs and garlic while you work.
- Chop parsley or use dried oregano for variations.
Tip: If you want even slices, chill the loaf slightly then cut with a serrated bread knife in long, smooth strokes.
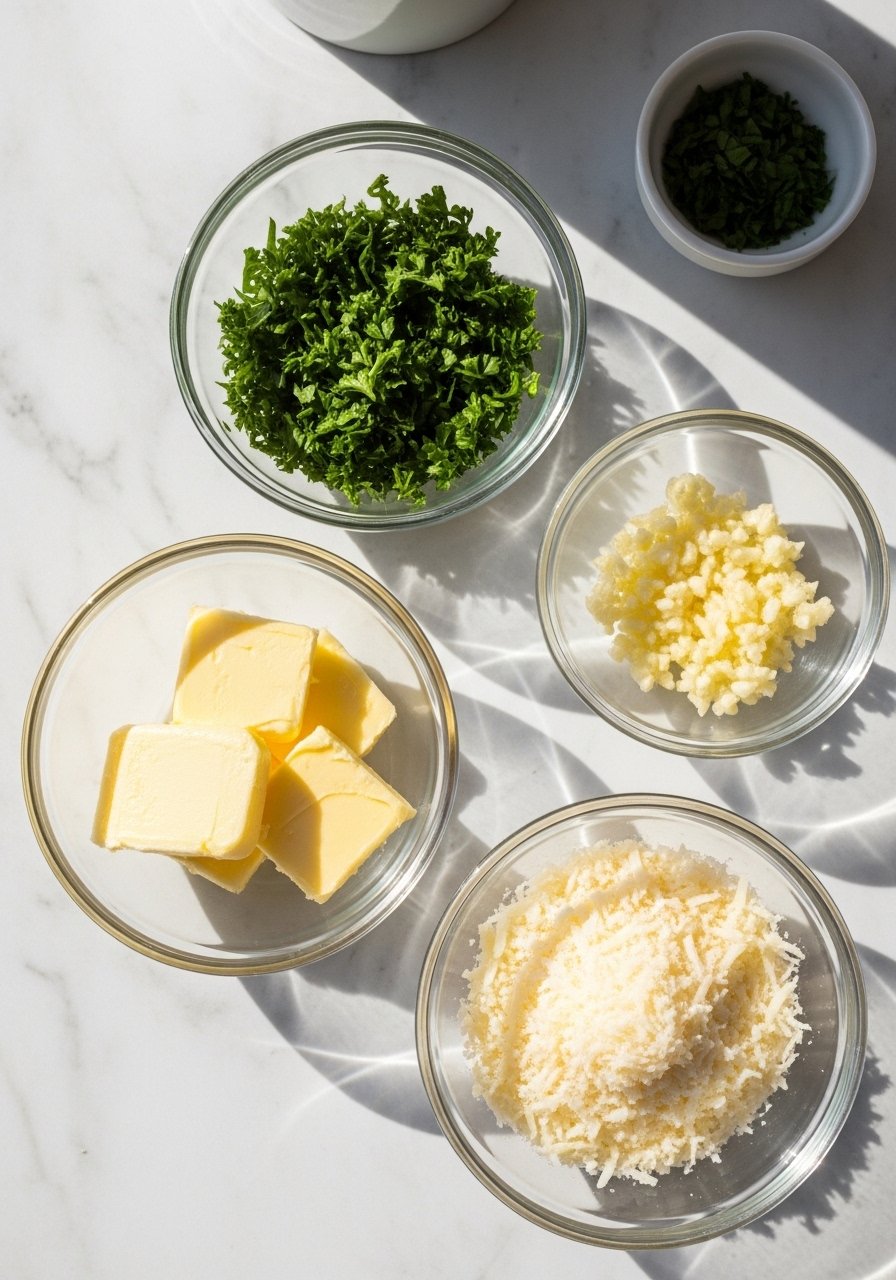
The Mixing and Cooking Technique
Make the garlic butter: in a bowl, mash 1/2 cup butter, 4 cloves grated garlic, 2 tbsp chopped parsley, 1/4 tsp salt, and 1/4 cup grated Parmesan (optional).
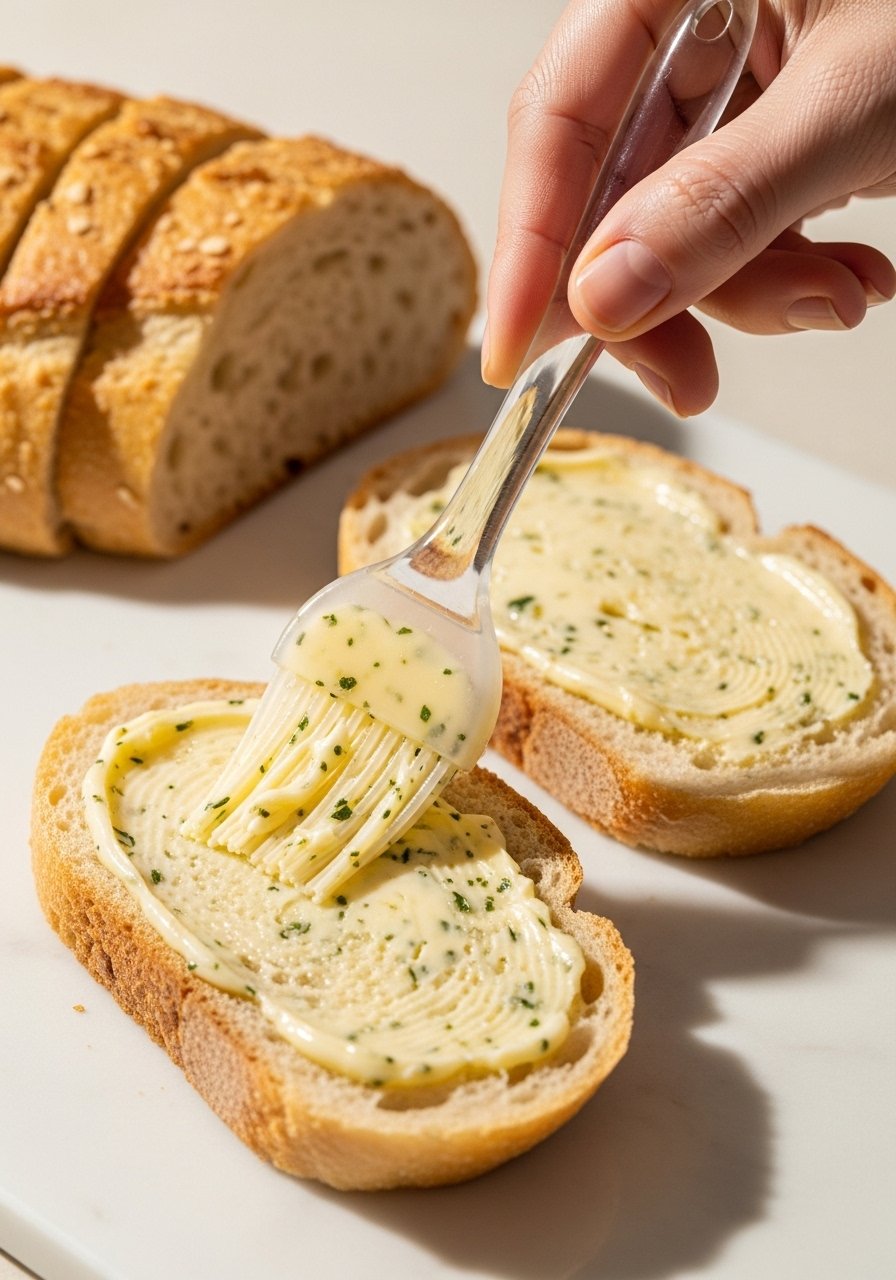
- Stir until well combined. Use a silicone pastry brush or an offset spatula to spread evenly.
- For a pull-apart style, slice the loaf about 3/4 inch apart—don’t cut all the way through—and spread butter into each gap.
- For classic slices, spread butter on each cut piece and place on a rimmed baking sheet lined with parchment paper.
If you prefer a charred, extra-crisp finish, transfer to a preheated 10–12 inch cast iron skillet and broil briefly. A cast iron skillet holds heat and gives great crust.
Getting the Perfect Texture and Doneness

Bake at 375°F for 10–12 minutes, then broil 1–2 minutes for golden tops. Watch closely during broil—garlic burns fast.
- Use an oven thermometer to confirm your oven isn’t running hot; many ovens vary by 10–25°F.
- Transfer to a wire cooling rack right away so bottoms stay crisp.
- If slices feel soggy, broil for short bursts (30 seconds) until crisp.
Warning: Over-broiling blackens garlic and adds bitterness. Aim for a warm golden color and fragrant garlic aroma.
Finishing Touches and Serving
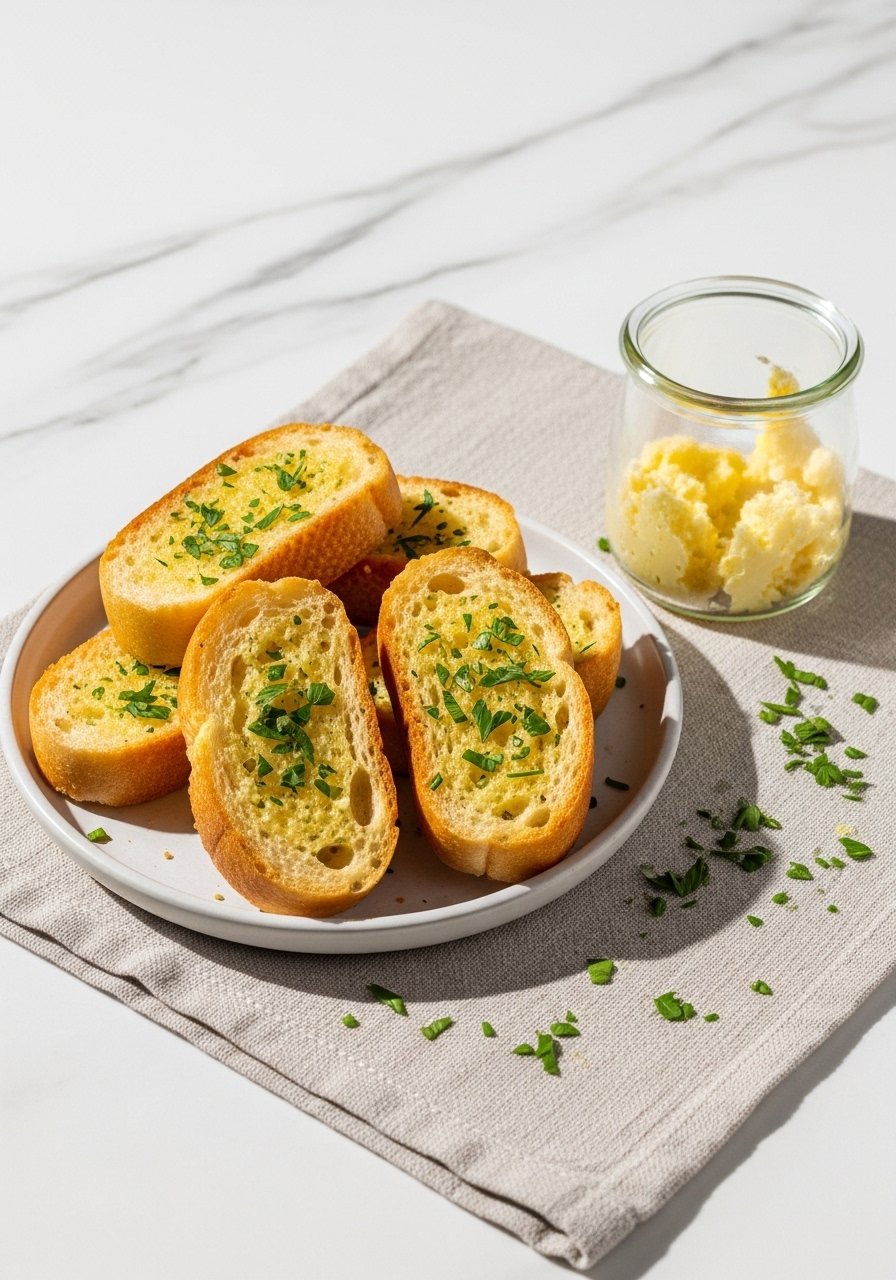
Finish with a sprinkle of Parmesan and a drizzle of good olive oil for shine. Save leftover garlic butter in small glass jars in the fridge for up to 1 week, or freeze flat in labeled freezer bags for up to 3 months.
- Reheat slices in a 350°F oven for 5–7 minutes to refresh.
- Store extras in airtight glass storage containers to prevent sogginess.
Variation: For a cheesy pull-apart, tuck shredded mozzarella into the sliced gaps before baking. For herb-forward bread, swap parsley for basil or chives.
Once you master how to make garlic bread with fresh garlic that is bold aromatic and incredibly flavorful, you'll reach for fresh garlic and simple tools every time. Save this guide for your next dinner, pin it for later, and share with friends who crave better garlic bread. Which trick will you try first—grating the garlic, chilling the loaf, or the quick broil?