You’re craving a dessert that’s fast, forgiving, and hits every texture note: gooey fruit, crispy topping, and spoon-stopping richness. A homemade dump cake delivers that with almost zero fuss — and yes, you can make it from scratch without boxed mixes.
You’ll learn how to build layers that bake evenly, how to get the topping both crunchy and soft, and quick fixes if the fruit is watery or the top browns too fast. A good 9×13 baking dish and a digital kitchen scale take the guesswork out of portions and timing so your dump cake comes out perfect every time.
Follow these simple steps and a few smart tools, and you’ll have a pin-worthy dessert in under an hour.
Preparing Your Ingredients
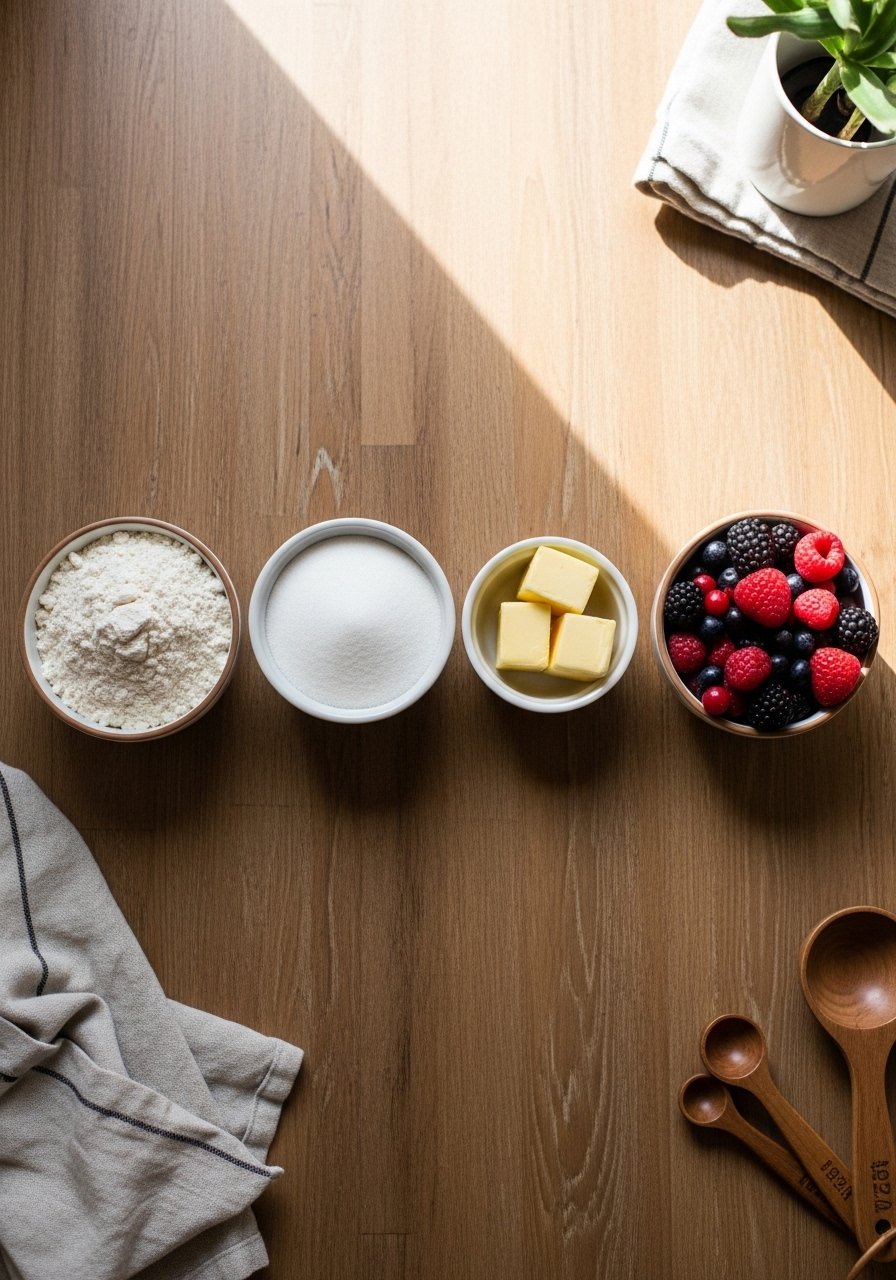
Start with quality fruit — fresh or frozen berries, peaches, or cherries work best. Measure by weight for consistency.
- Fruit: 4 cups chopped fresh fruit or 5 cups frozen (thawed and drained).
- Filling: 1/2 cup granulated sugar, 2 tbsp cornstarch, pinch of salt, 1 tsp vanilla.
- Topping (from-scratch): 1 1/2 cups all-purpose flour, 1 cup sugar, 1 1/2 tsp baking powder, 12 tbsp cold unsalted butter cut into pieces.
Helpful tools that save time:
- Use mixing bowls for mise en place.
- Keep measuring cups and spoons handy to speed prep.
Tip: If fruit is very juicy, toss with an extra tablespoon of cornstarch to avoid a runny bottom.
The Mixing & Layering Technique (Easy Steps)
Layering is the secret to a great dump cake. Do this step-by-step:
- Preheat oven to 350°F (175°C) and place a rimmed baking sheet on the rack below to catch drips.
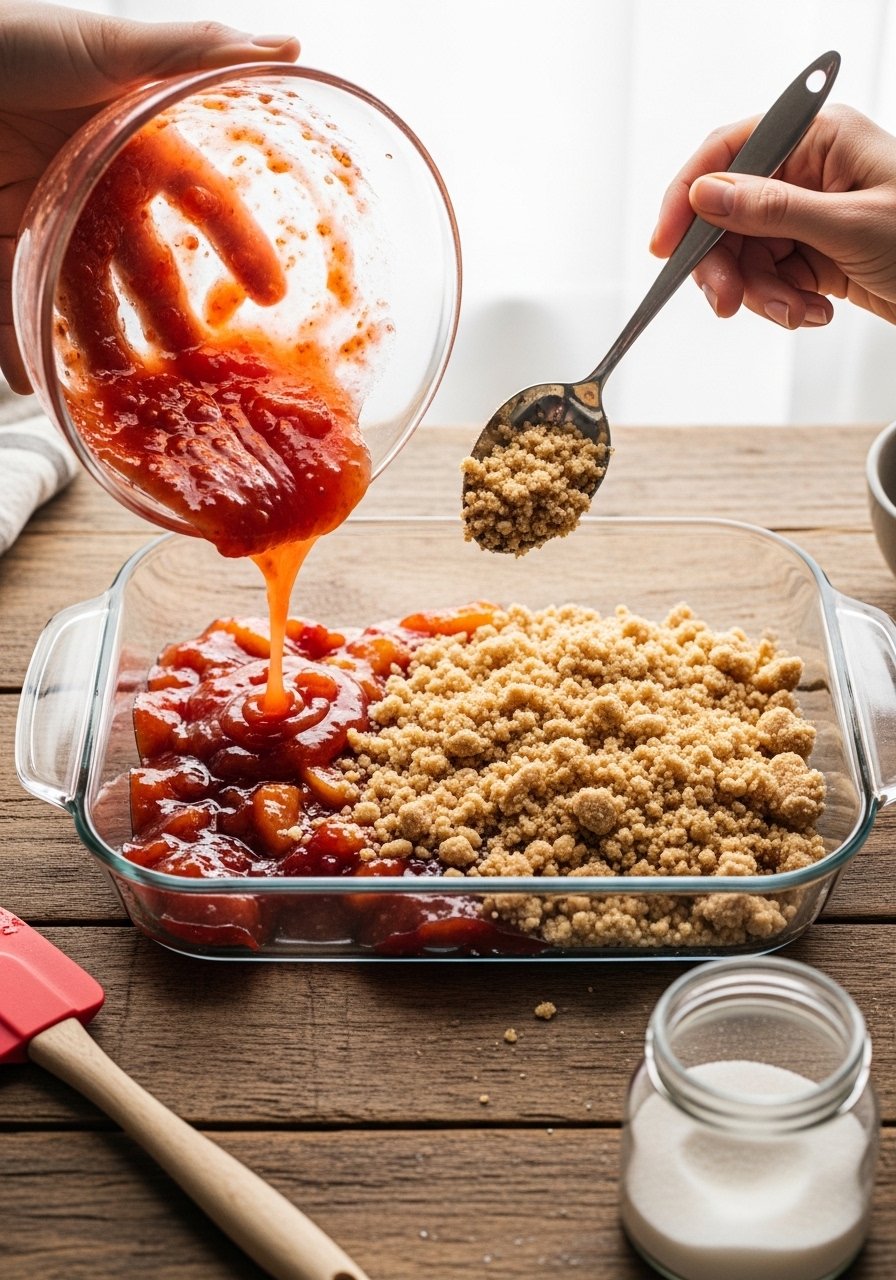
- Toss fruit with sugar, cornstarch, vanilla; spread evenly in your 9×13 baking dish.
- Mix topping dry ingredients in a bowl. Scatter cold butter pieces over the dry mix.
- Use a stand mixer for quick cutting of butter, or rub butter into flour with fingers until coarse crumbs form.
- Sprinkle topping evenly over fruit — don’t press it down.
A silicone spatula helps distribute crumbs without compressing them.
Getting the Perfect Gooey-Crispy Texture
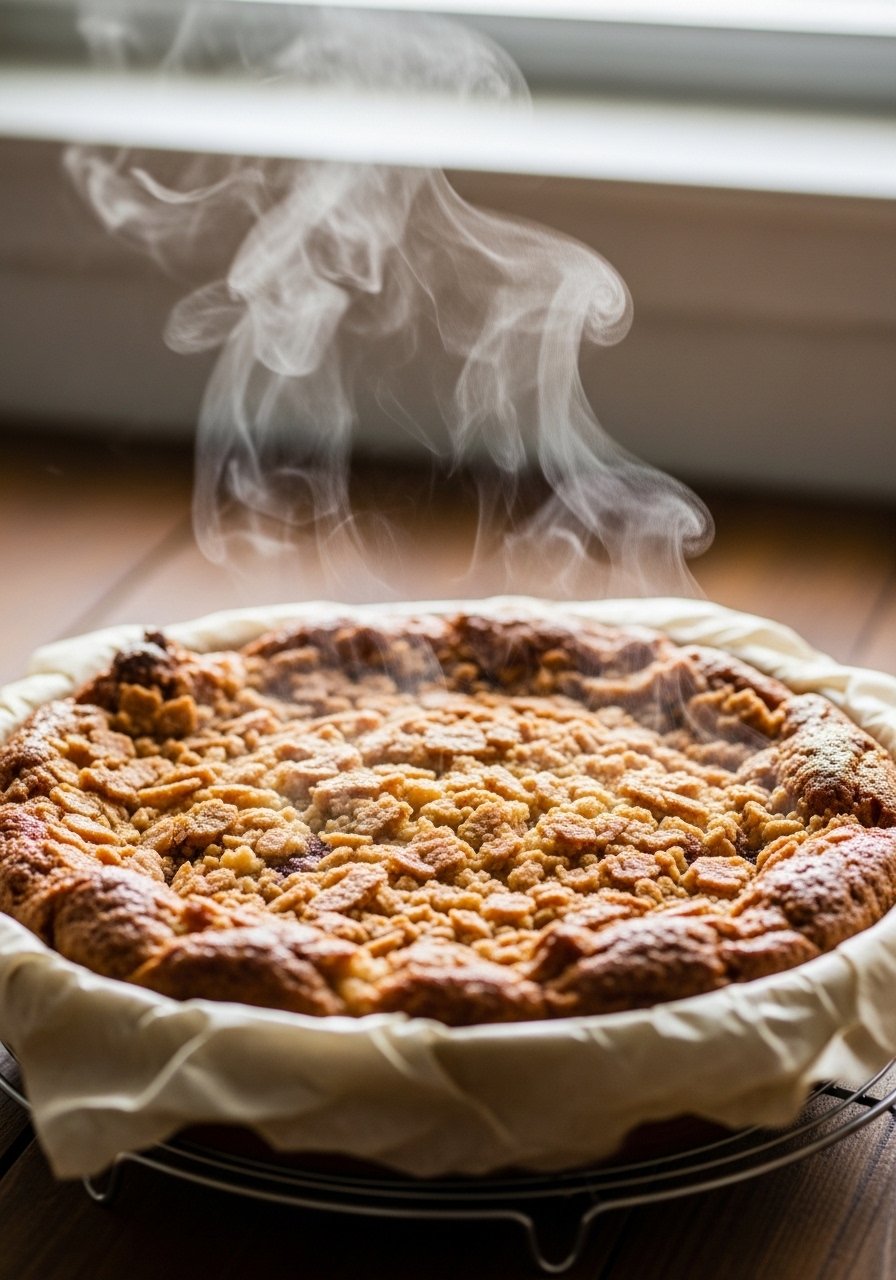
Bake for 40–50 minutes until the top is golden and the filling bubbles at the edges. If the top browns too quickly, tent loosely with foil after 25 minutes.
- Visual cues: look for bubbling fruit and an evenly browned top.
- If the center feels underdone but edges are done, bake 5–10 minutes longer on the middle rack.
Prevent soggy bottoms:
- Place the dish on a preheated rimmed baking sheet to promote even heat.
- Use an oven thermometer to confirm your oven holds 350°F, since many ovens run hot or cool.
Tip: Let the dump cake rest 15–20 minutes before serving so the filling sets and slices cleanly.
Finishing Touches and Serving
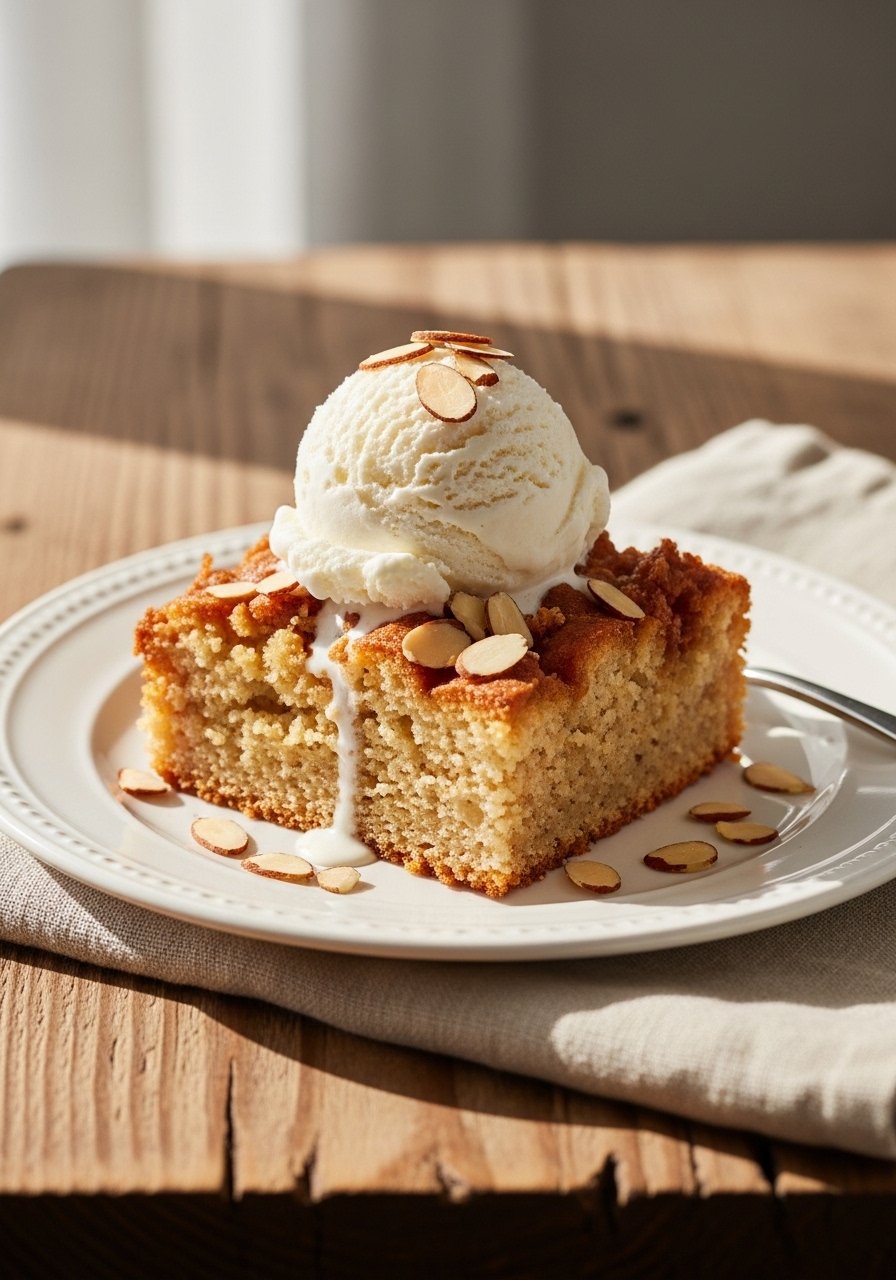
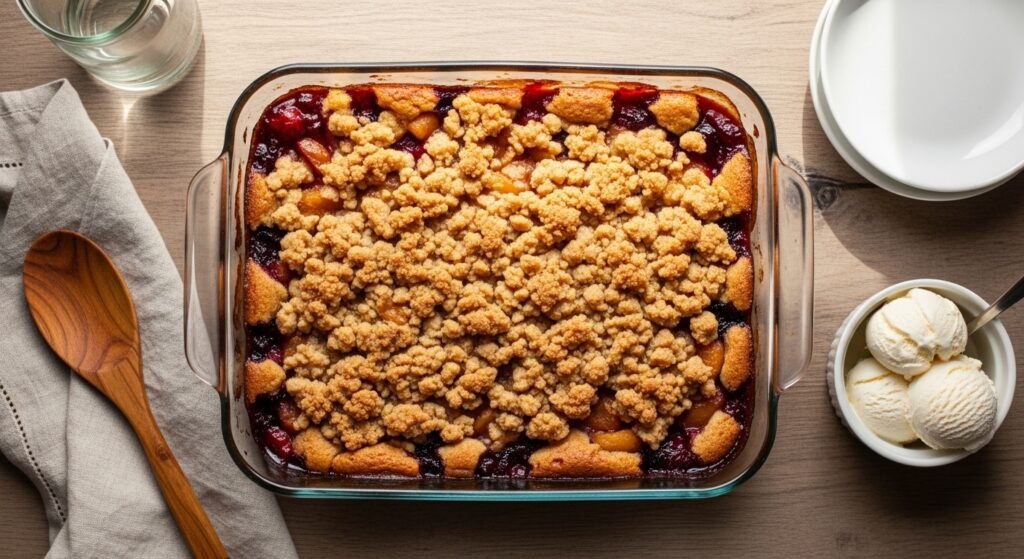
Serve warm with a scoop of vanilla ice cream or whipped cream. For cleaner slices, use an offset spatula or large server.
Storage and make-ahead:
- Cool completely, then store leftovers in airtight glass storage containers in the fridge for 3–4 days.
- Freeze individual portions flat in parchment paper and then in freezer bags for up to 3 months.
Quick variation: swap half the flour topping for 1 cup old-fashioned oats for a heartier crisp.
Pin this for a fuss-free dessert that feeds a crowd and reheats beautifully.
Once you’ve made this dump cake a few times you’ll have your favorite fruit and topping balance nailed. Grab a reliable digital kitchen scale if you want exact results every time, and don’t forget to save this guide—pin it for your next baking day! Which fruit will you try first?