You love garlic bread but hate when it goes stale after a night or two. If you've tried to freeze garlic bread only to end up with soggy, limp slices, you’re not alone. Learn how to freeze garlic bread the right way so it stays fresh and crispy for months, not just days.
The secret is simple: control moisture, add a protective layer, and freeze flat. I use freezer bags for space-saving storage and parchment paper between slices to stop them from sticking—both cut reheating time and keep texture. You’ll be able to pull out perfectly crisp slices whenever you need them.
Read on and you’ll learn step-by-step prep, two freezing methods (quick flash-freeze vs. vacuum-seal), exact timings, reheating tricks, and troubleshooting so your garlic bread stays crisp for up to 3 months.
Preparing Your Garlic Bread for Freezing
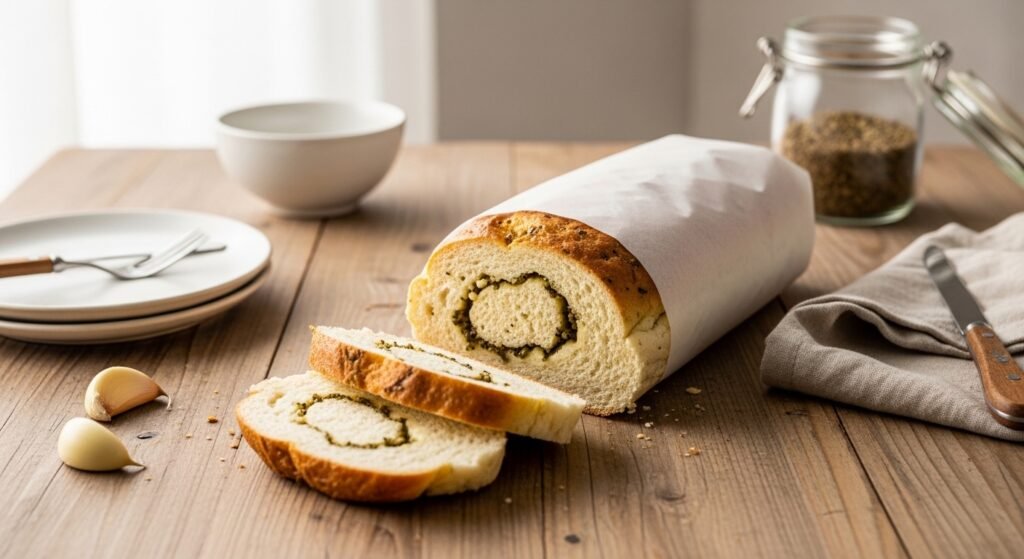
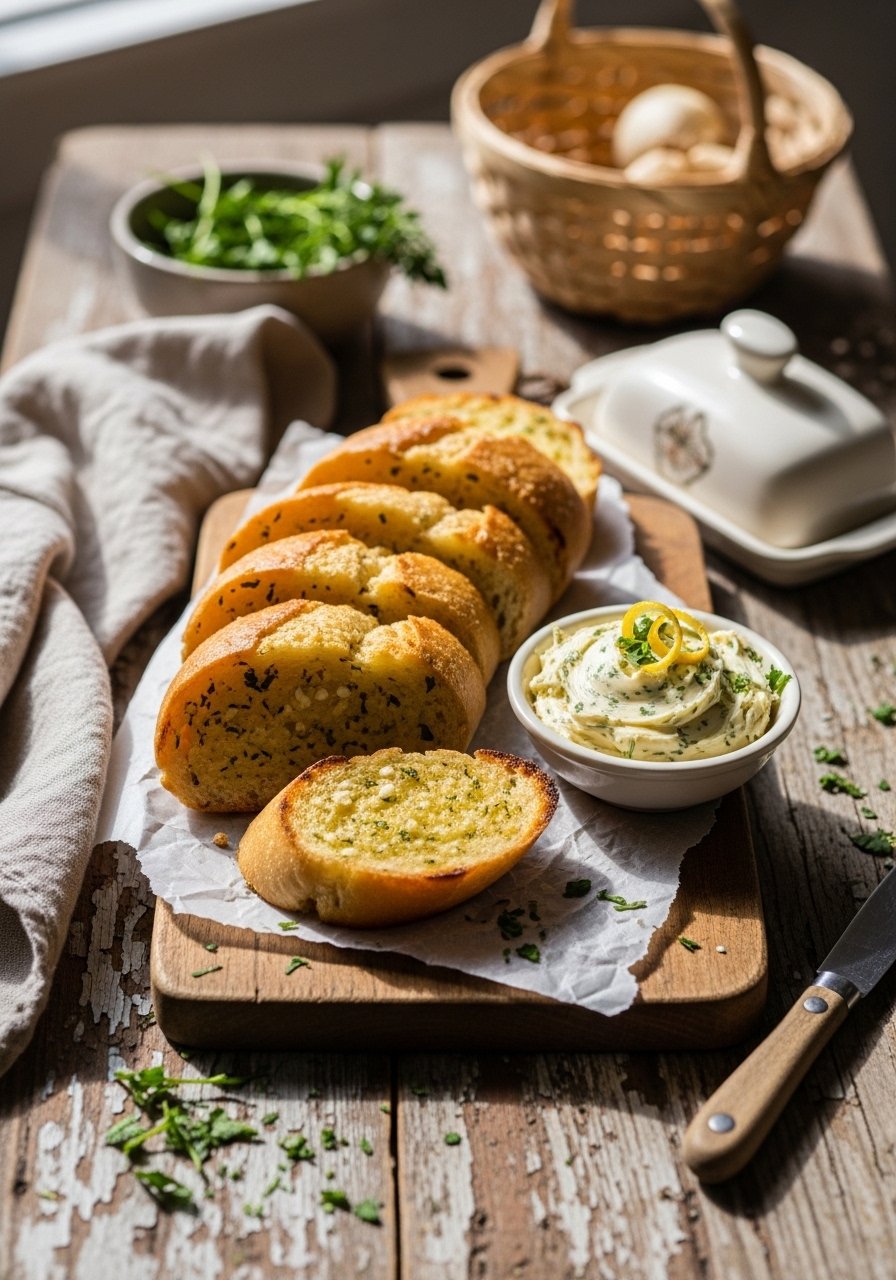
Start with slightly underbaked or fully baked garlic bread—either works. Slightly underbaked bread crisps up better when reheated. Spread butter-garlic mix evenly and let the bread cool to room temperature for about 30 minutes before freezing.
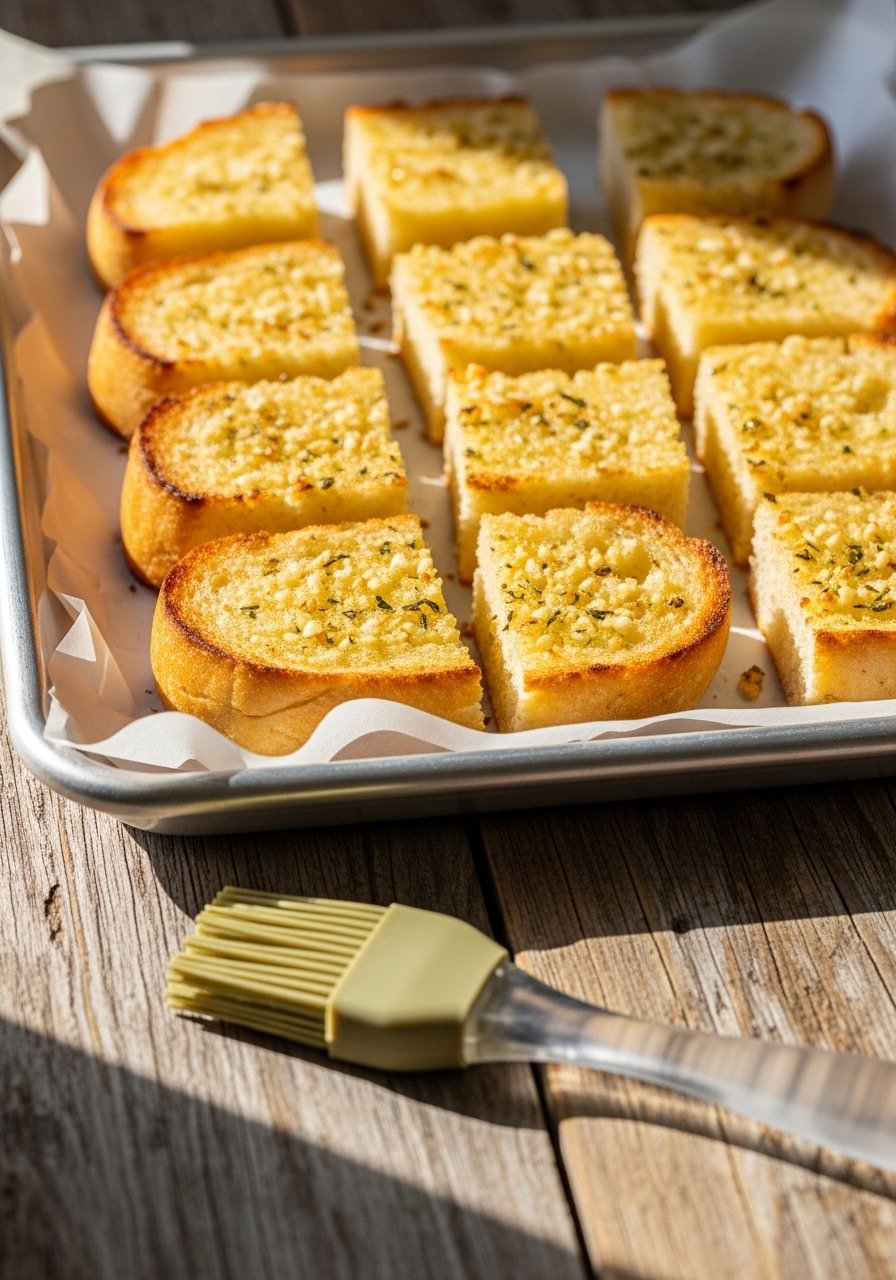
- Use a rimmed baking sheet and line it with parchment paper so slices don’t stick.
- For even butter distribution, sweep with a silicone pastry brush.
- Place slices on a wire cooling rack after brushing so excess moisture drains and bottoms stay dry.
Tip: If using herb butter with fresh herbs, blot excess liquid with a paper towel to prevent ice crystals.
Flash-Freeze vs. Vacuum Seal: Which Method to Use
Two reliable methods keep garlic bread crispy: flash-freeze in single layers, or remove air completely with a vacuum sealer.
-
Flash-freeze (fast, budget-friendly)
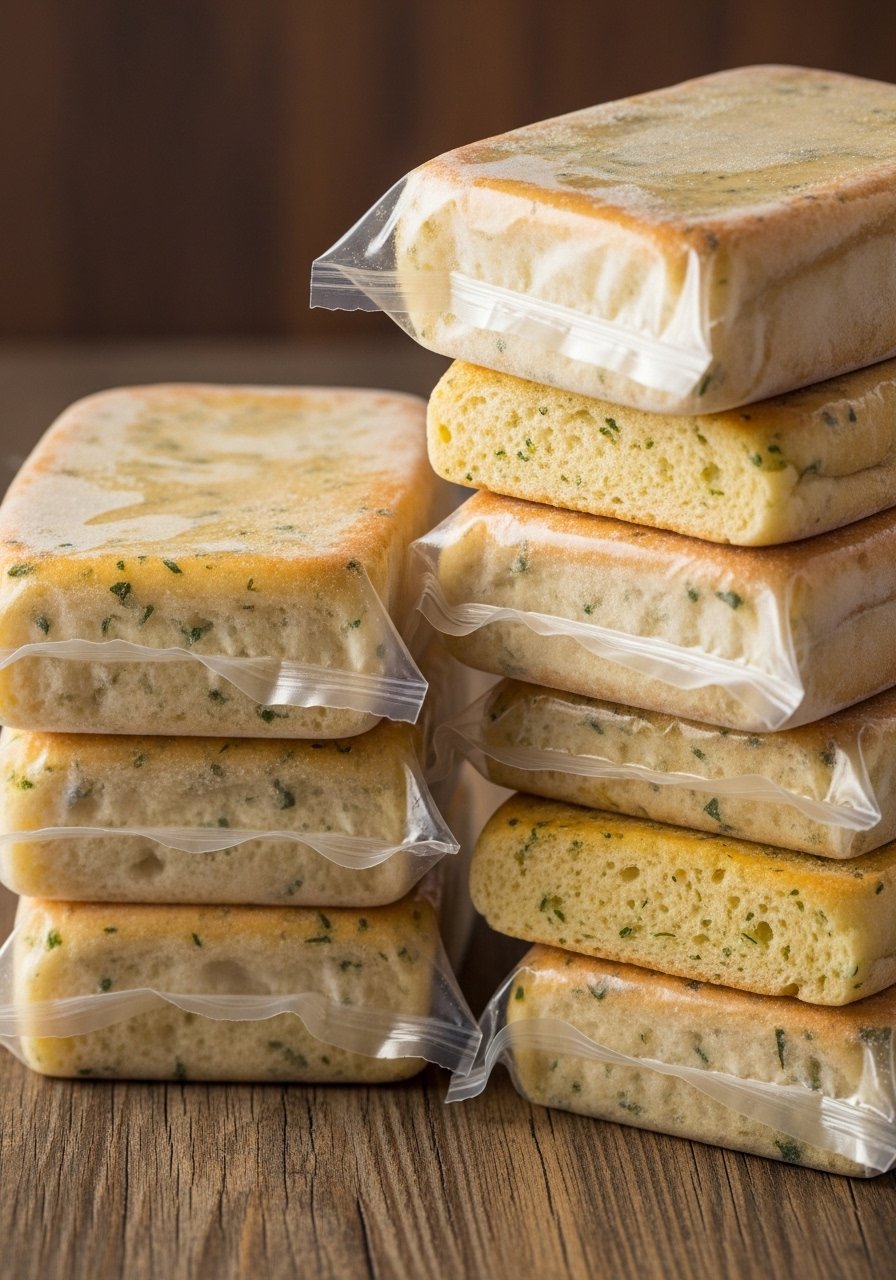
- Arrange slices on a sheet lined with parchment paper and freeze for 2–3 hours until firm.
- Transfer to freezer bags, press out air, flatten, and seal.
- Label with date using freezer labels.
-
Vacuum seal (best texture, longer storage)
- After flash-freezing, run packets through a vacuum sealer to remove air and prevent freezer burn.
- Store sealed pouches flat; they stack easily and thaw quickly.
If you prefer containers, use airtight glass storage containers for whole loaves or thicker slices—just leave headspace for expansion.
Reheating for a Crispy, Fresh-Out-of-the-Oven Finish
Reheating is where frozen garlic bread either shines or fails. The goal: restore crisp crust and warm, melty interior.
- For slices: preheat oven or air fryer to 350°F. Place frozen slices on a rimmed baking sheet or in the air fryer basket.
- Reheat for 8–12 minutes from frozen in the oven, or 5–7 minutes in an air fryer, flipping halfway for even browning.
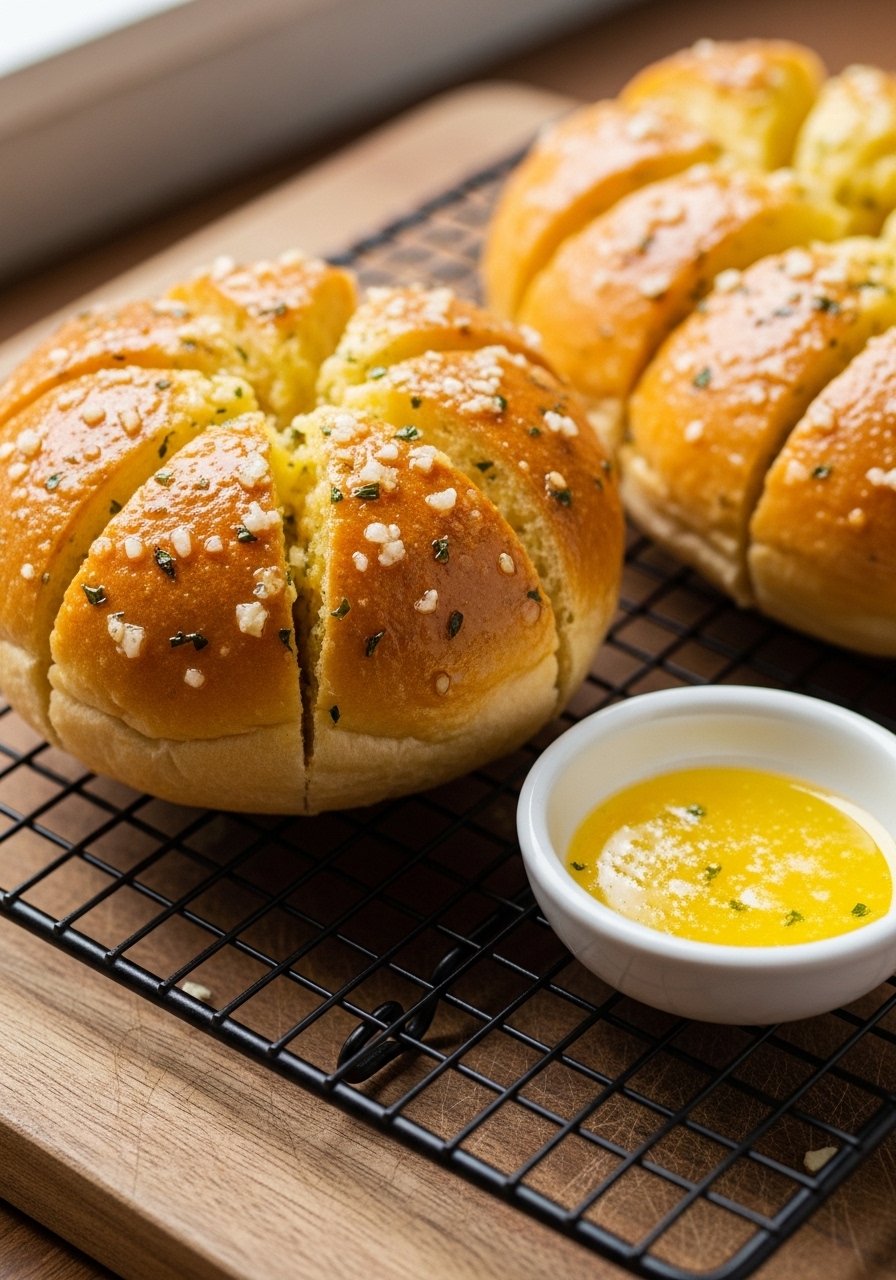
- For whole or thicker pieces, wrap loosely in aluminum foil for the first 10 minutes, then open foil for 3–5 minutes to crisp.
Pro tip: a quick blast under the broiler for 30–45 seconds at the end crisps edges—watch closely to avoid burning.
Troubleshooting & Make-Ahead Tips

If bread gets soggy:
- You likely skipped the cooling or rack step. Always cool on a wire cooling rack for 24 hours before packing.
- Use parchment paper between slices to avoid condensation sticking.
Storage benchmarks:
- Best texture: up to 3 months in a properly sealed vacuum pouch.
- Good for taste: 3–6 months, but quality drops after that.
Make-ahead hacks:
- Freeze single portions so reheating is fast.
- Store a batch in glass meal prep bowls if you plan to use within a week.
Which method will you try first? Pin this guide and you’ll always have crisp, ready-to-reheat garlic bread on hand.
You’re ready to freeze garlic bread that stays fresh and crispy for months. Try the flash-freeze method first, then experiment with vacuum sealing for longer storage. Save this guide and pin it for easy access when you’re prepping batches. Which reheating trick will you test this week? Grab a roll and let’s get toasty!