You’ve got a craving for something sweet-tart but you don’t have hours to bake. The cherry dump cake is your shortcut: all the flavor of a cherry cobbler with almost zero effort. This how-to guide shows you how to make a cherry dump cake that’s sweet, tart, buttery, and ready in under an hour.
The secret is simple assembly and the right tools. I use a 9×13 baking dish for even baking and a thin silicone spatula to spread the cake mix without scratching the pan. That little change saves time and cleanup.
Read on and you’ll learn exact measurements, step-by-step assembly, baking times, troubleshooting, and storage tips so you can pin this and make it again and again.
Preparing Your Ingredients
Get everything prepped before you start—this is a true one-bowl, low-effort dessert.
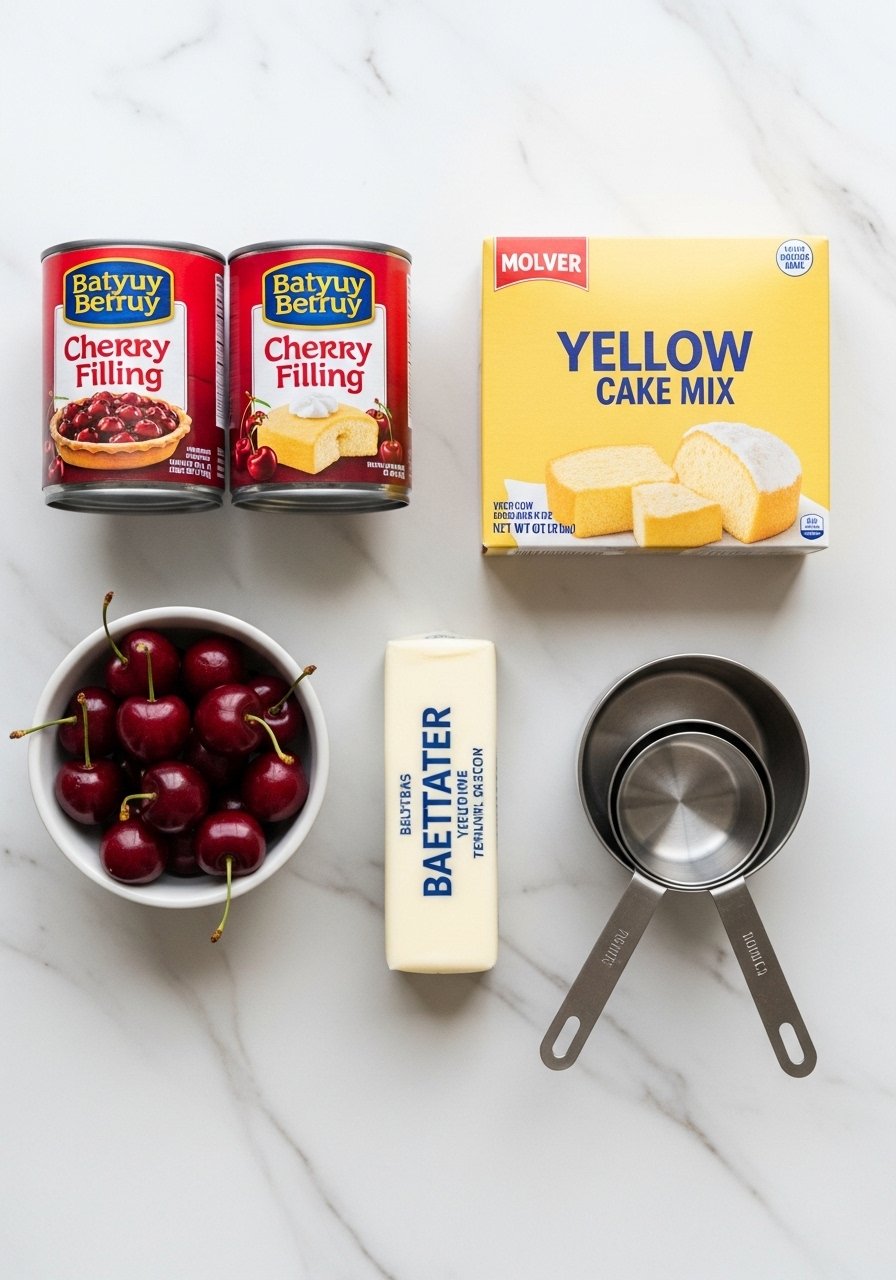
- You’ll need: 2 cans (21 oz each) cherry pie filling, 1 (15.25 oz) box yellow cake mix, 1 cup (2 sticks) cold butter, thinly sliced, and optional fresh cherries or almond extract.
- Prep tips:
- Open cans with a manual can opener for fast work.
- Slice butter thin using a sharp knife for even melting.
- Measure with a reliable set of measuring cups so portions stay consistent.
This section is about speed and accuracy—having your tools ready keeps the whole process under 10 minutes.
Assembling the Cherry Dump Cake
Assembly is literally dumping and layering—no mixing required.
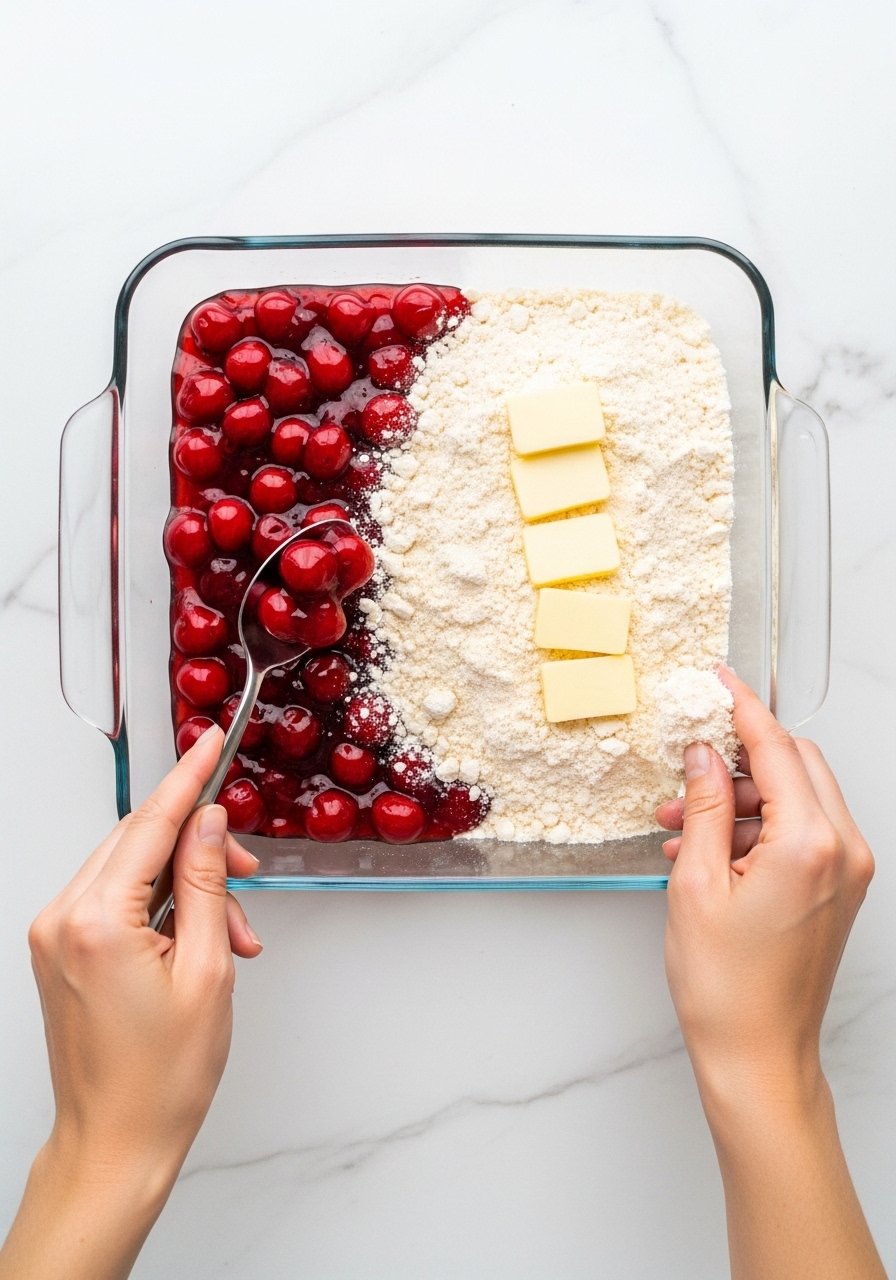
- Preheat oven to 350°F (175°C).
- Pour both cans of cherry pie filling into your 9×13 baking dish and spread to an even layer with a silicone spatula.
- Sprinkle the entire box of yellow cake mix evenly over the cherries.
- Arrange thin slices of butter over the cake mix so they touch; this helps the top become buttery and crisp.
Quick tips:
- For a faster melt, use slightly softened butter or gently melt half the butter and drizzle before adding slices.
- If you worry about uneven sprinkling, a small sieve helps distribute the mix.
Baking and Checking Doneness
Bake until bubbly and golden.
- Bake at 350°F for 35–45 minutes. You’re aiming for bubbling fruit around the edges and a golden-brown top.
- If the top browns too quickly, tent loosely with foil after 25–30 minutes.
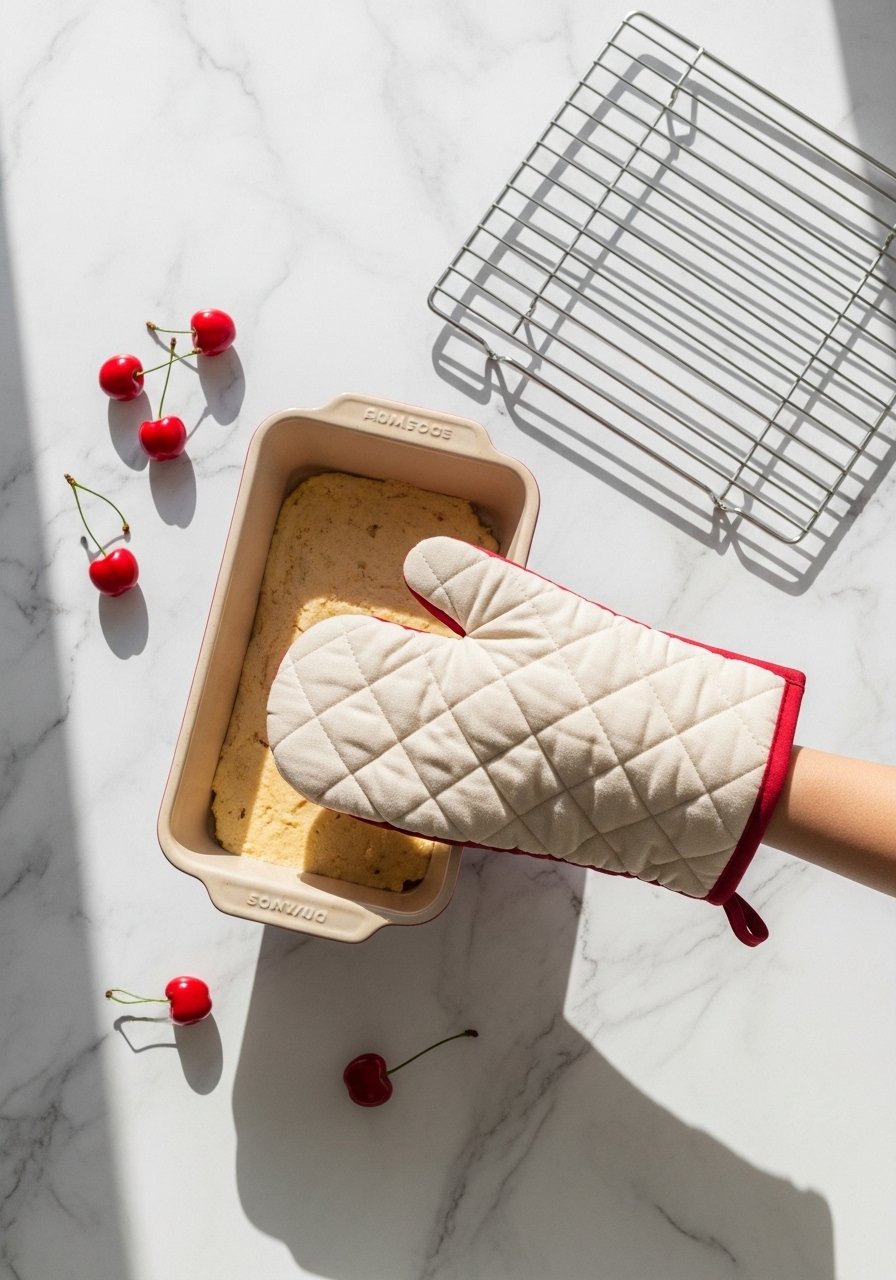
- Use a wire cooling rack to rest the pan after removing from the oven so steam escapes and the bottom doesn’t go soggy.
Troubleshooting:
- Soggy bottom: Bake a few minutes longer or let it rest 10–15 minutes before serving.
- Dry top: Next time, add a few tablespoons of melted butter across the cake mix before baking.
Finishing Touches, Serving, and Storage
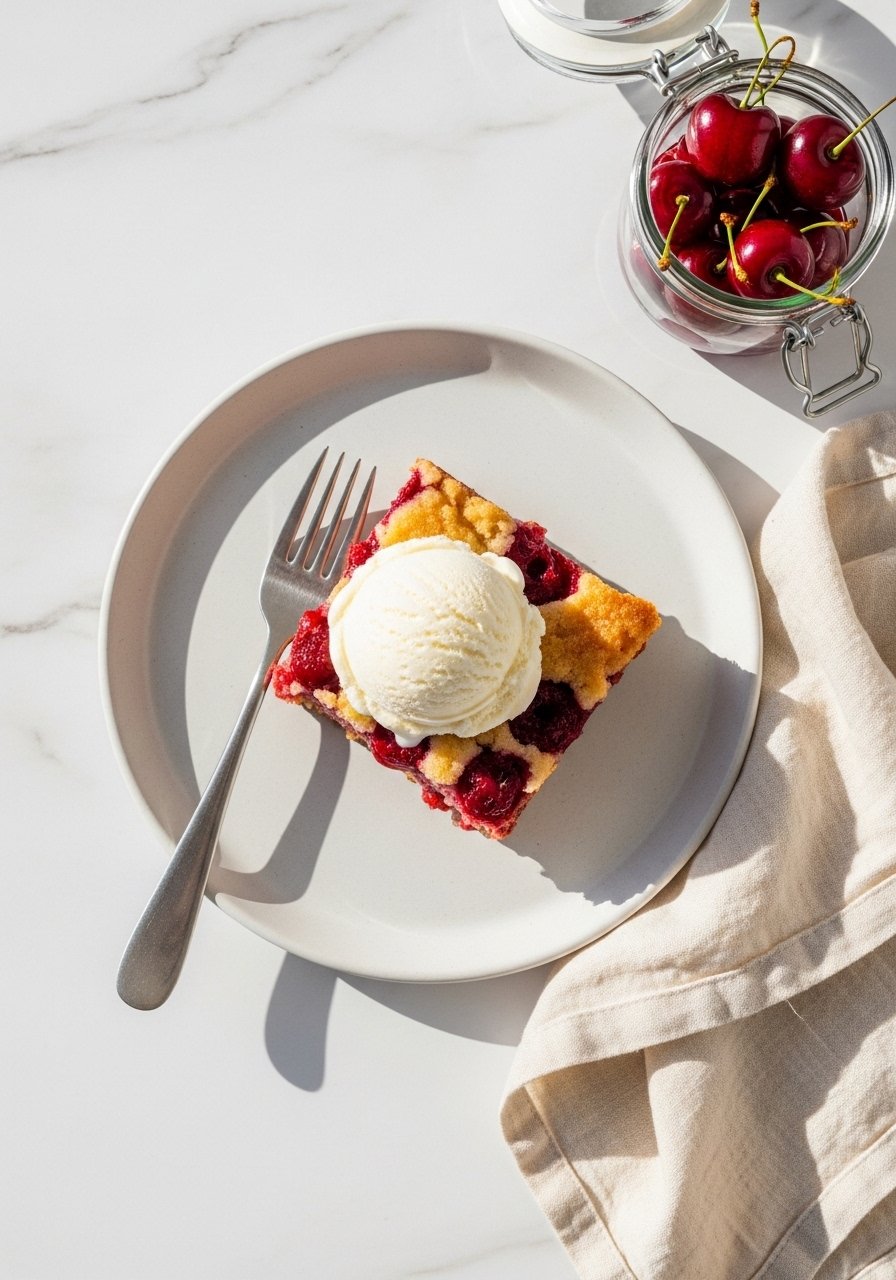
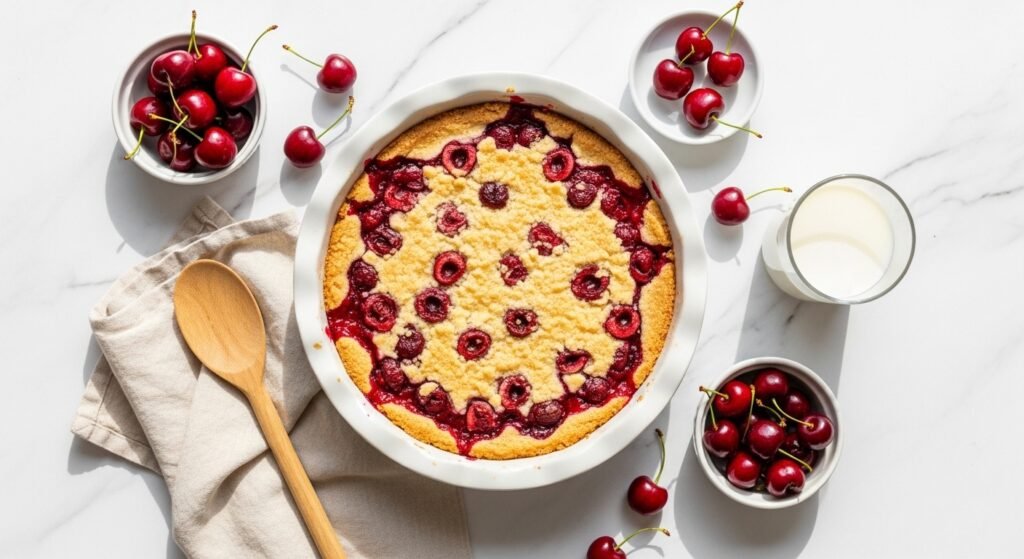
Serve warm with vanilla ice cream or whipped cream for contrast.
- Portioning: This recipe serves 8–10; use a long, thin spatula or offset spatula to lift neat slices.
- Store leftovers in airtight glass storage containers in the fridge for up to 4 days.
- Freeze individual portions flat in labeled freezer bags for up to 2 months; thaw overnight in the fridge then reheat at 325°F for 10–15 minutes.
- For prep-ahead: assemble in the dish, cover, and refrigerate for up to 24 hours—add 5–10 extra minutes to baking time if cold.
Bonus tip: Keep extra cherries or compote in small glass jars to spoon over individual servings.
You’ve just learned how to make a cherry dump cake that’s sweet, tart, buttery, and ridiculously simple. Save this guide and pin it for your next cozy night in. Which topping will you try first—ice cream, whipped cream, or toasted almonds? If you bake often, a good oven mitt pair makes handling hot pans safer and faster—pin this and go bake!