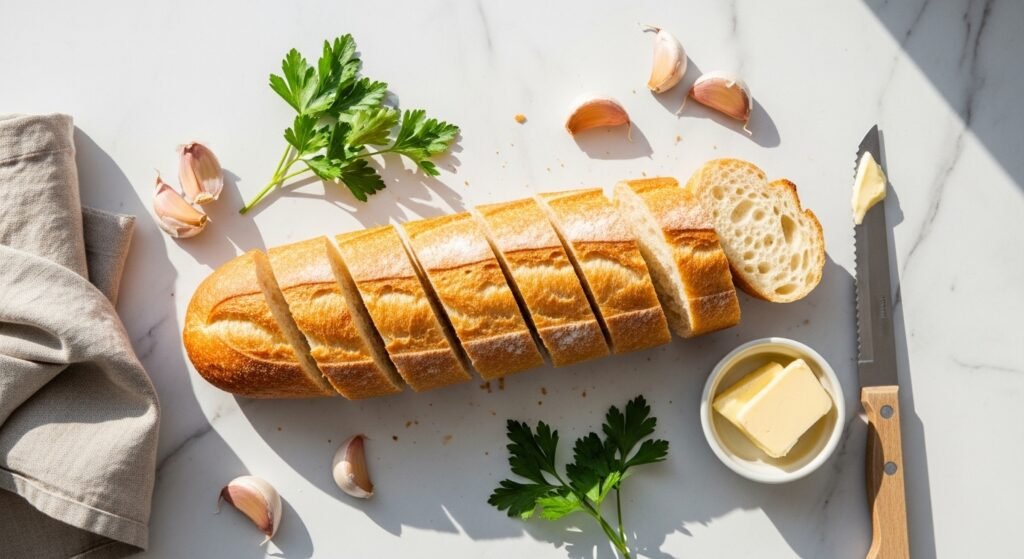
You’ve baked bread before, but your garlic bread never turns out as crisp and buttery as the photos. You want garlic bread from scratch that’s golden, crisp on the outside, and soaked with garlic butter flavor inside — not soggy or burnt.
This guide shows you how to make garlic bread from scratch step-by-step so you’ll get reliable results every time. You’ll learn how to mix an ultra-flavorful garlic butter, prep a baguette for even melting, and use simple oven tricks for a golden crust. For cleaner prep and perfect slices, I use a serrated bread knife and a garlic press — small tools that save time and give consistent results.
Follow the timing, temperatures, and pro tips below and you’ll have show-stopping garlic bread in about 25 minutes.
Preparing Your Ingredients and Station
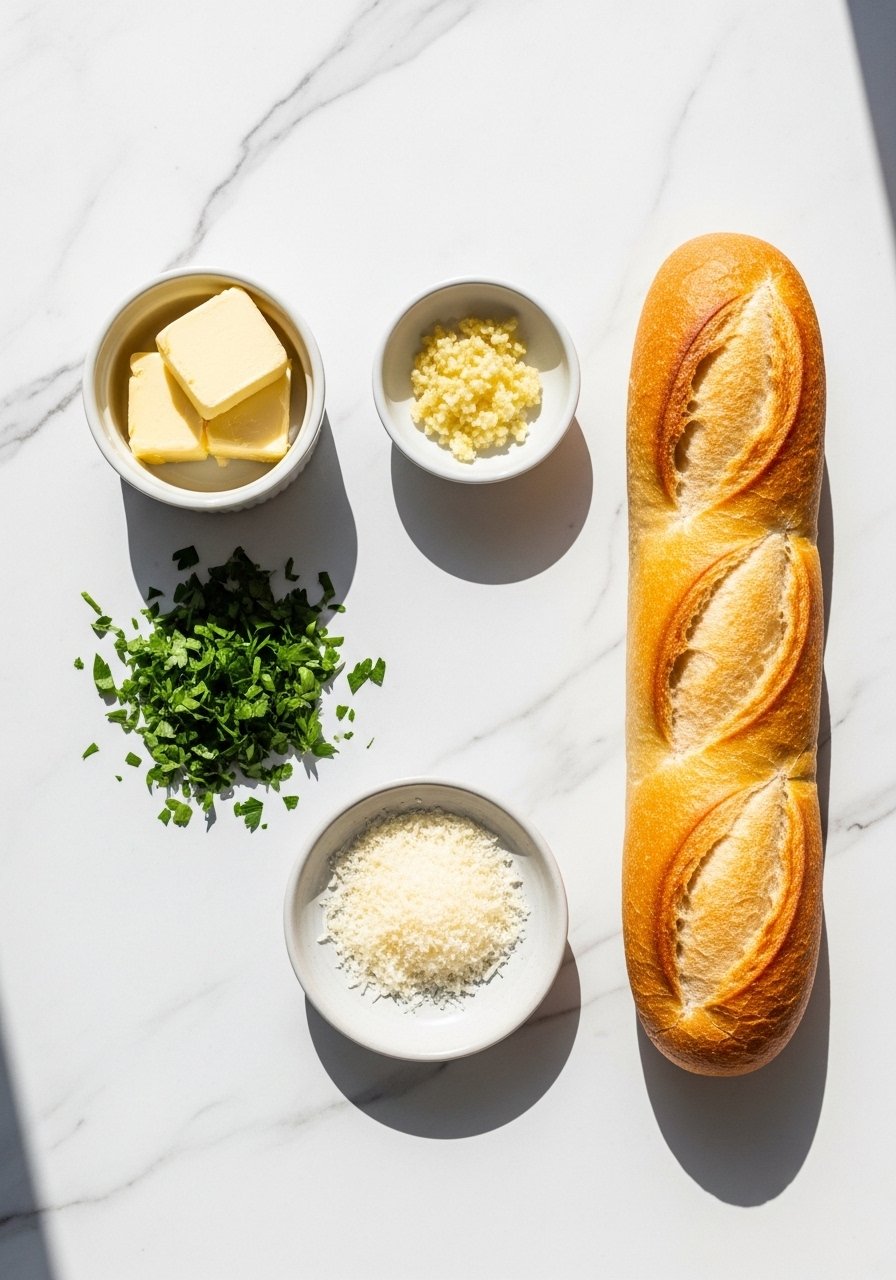
- Use one baguette (about 12 oz) for 4–6 servings. Slice on a slight diagonal for larger pieces.
- For the garlic butter: 6 tablespoons unsalted butter (softened), 3–4 cloves garlic (minced), 2 tbsp finely chopped parsley, 1/4 tsp salt, and 2 tbsp grated Parmesan (optional).
- Prep tools: a mixing bowl set makes quick work of combining ingredients, and a silicone pastry brush helps spread butter evenly.
Quick tips:
- Mince garlic finely or use a garlic press so the flavor distributes evenly.
- Let butter soften at room temperature for 20–30 minutes for easy mixing.
- Mix the butter thoroughly until smooth so it spreads without tearing the bread.
The Mixing and Assembly Technique
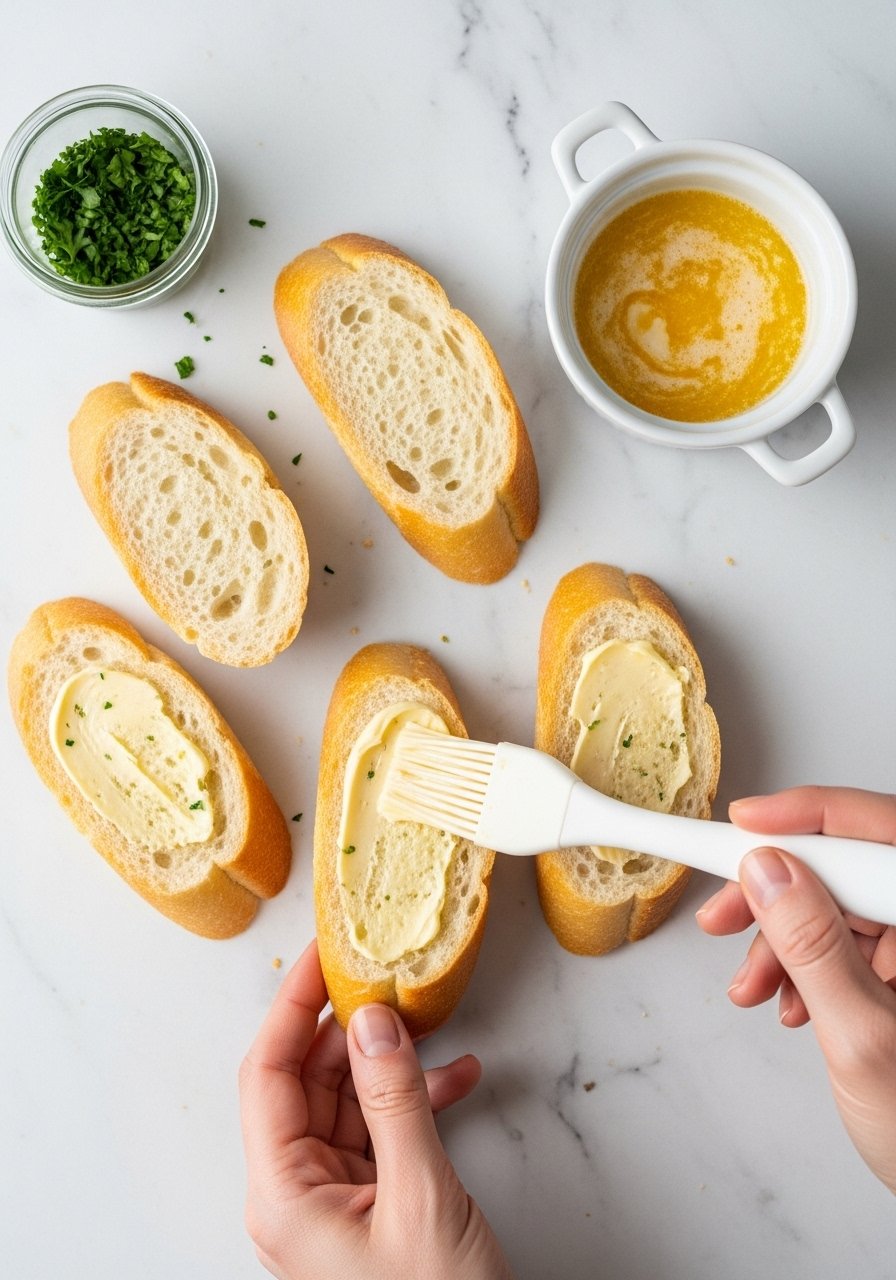
- In a bowl, combine softened butter, minced garlic, parsley, salt, and Parmesan. Stir until creamy.
- Slice the baguette in half lengthwise for pull-apart bread or into 1-inch diagonal slices for individual pieces.
- Spread a thin, even layer of garlic butter on each cut surface with a silicone pastry brush or an offset spatula for control.
- For extra garlicky pockets, melt an extra tablespoon of butter and drizzle into gaps between slices.
Why this works:
- Even spreading prevents soggy centers.
- Thin layers melt quickly and crisp under heat.
- A small bowl or ramekin set keeps prep tidy.
Getting the Perfect Golden Crispy Texture
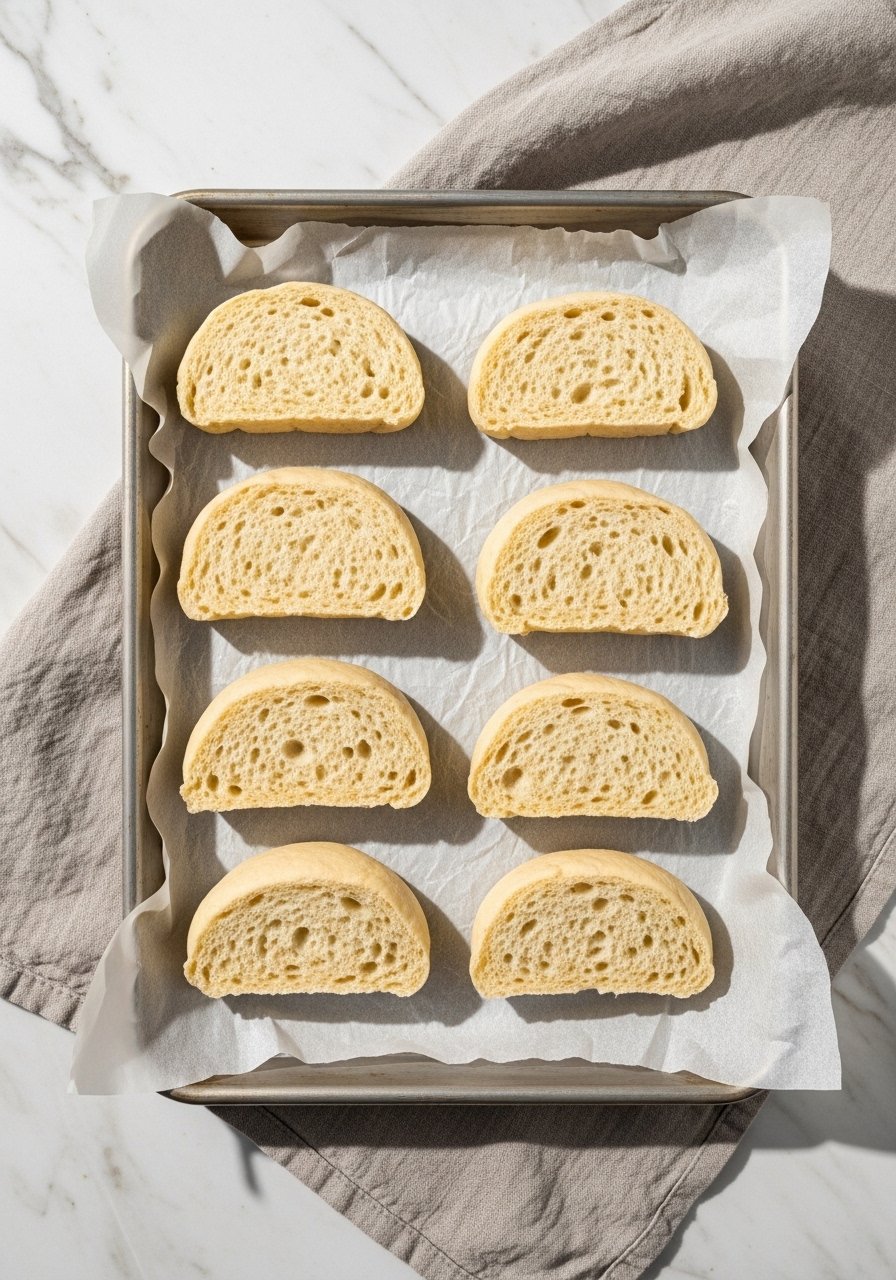
- Preheat oven to 400°F (204°C) with the rack in the middle position.
- Line a rimmed baking sheet with parchment paper to prevent sticking and for easy cleanup.
- Bake the assembled bread for 8–12 minutes until butter melts and edges start to brown.
- For an extra-crisp top, switch the oven to broil for 30–90 seconds—watch closely; it goes from golden to burnt fast.
Pro tricks:
- If you want crisp bottoms, place bread on a wire cooling rack set inside the baking sheet so air circulates under the loaf.
- Use an oven thermometer if your oven runs hot or cold; baking at the right temp prevents burned edges.
Finishing Touches, Serving, and Storage

- Right out of the oven, sprinkle extra parsley and a pinch of flaky sea salt for brightness.
- Serve with marinara, pasta, or a fresh salad. Cut into pieces and serve immediately for best texture.
- Storage: Keep leftover garlic butter in small glass jars in the fridge up to 1 week, or freeze up to 3 months. Store extra bread in airtight glass storage containers for up to 2 days, or freeze slices flat in freezer bags.
Quick fixes:
- If bread gets soft after sitting, re-crisp under broiler for 30–60 seconds.
- For garlic bread from scratch on a time crunch, spread the butter on store-bought baguette slices and bake—same flavors, less work.
Everything here helps you make garlic bread from scratch that’s crisp, buttery, and fragrant. Pin this guide for your next dinner and try the broil trick for the perfect crust. Which step will you try first? Save this and share with anyone who loves garlic bread.