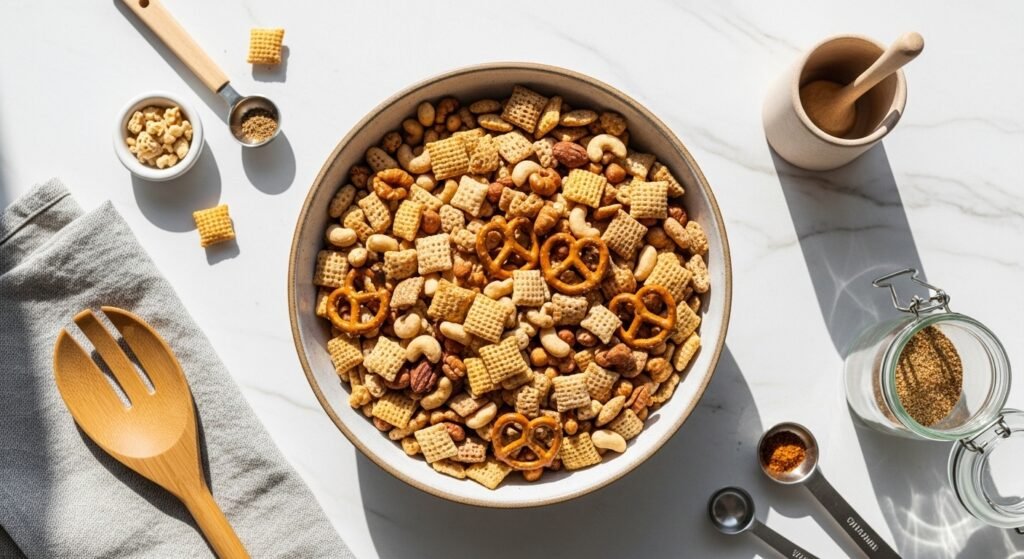
Craving a salty, crunchy snack that actually tastes homemade? If you've ever bought store-bought mixes and wished they were crunchier or better seasoned, this guide shows exactly how to make homemade Chex Mix from scratch that's perfectly seasoned and incredibly crunchy. You’ll get consistent results, predictable timings, and tips to skip soggy batches.
The secret is the right bake method and a few simple tools. I use a rimmed baking sheet with a silicone baking mat for even heat and easy cleanup—game plans that save time and mess. Follow along and you'll learn a no-fail method for how to make homemade Chex Mix from scratch that holds up at parties and packs well for snacks.
You’ll learn ingredient ratios, exact oven times, troubleshooting tips, and how to store or gift your batch. Expect to spend about 1 hour 15 minutes total (including the bake and cool).
Preparing Your Ingredients
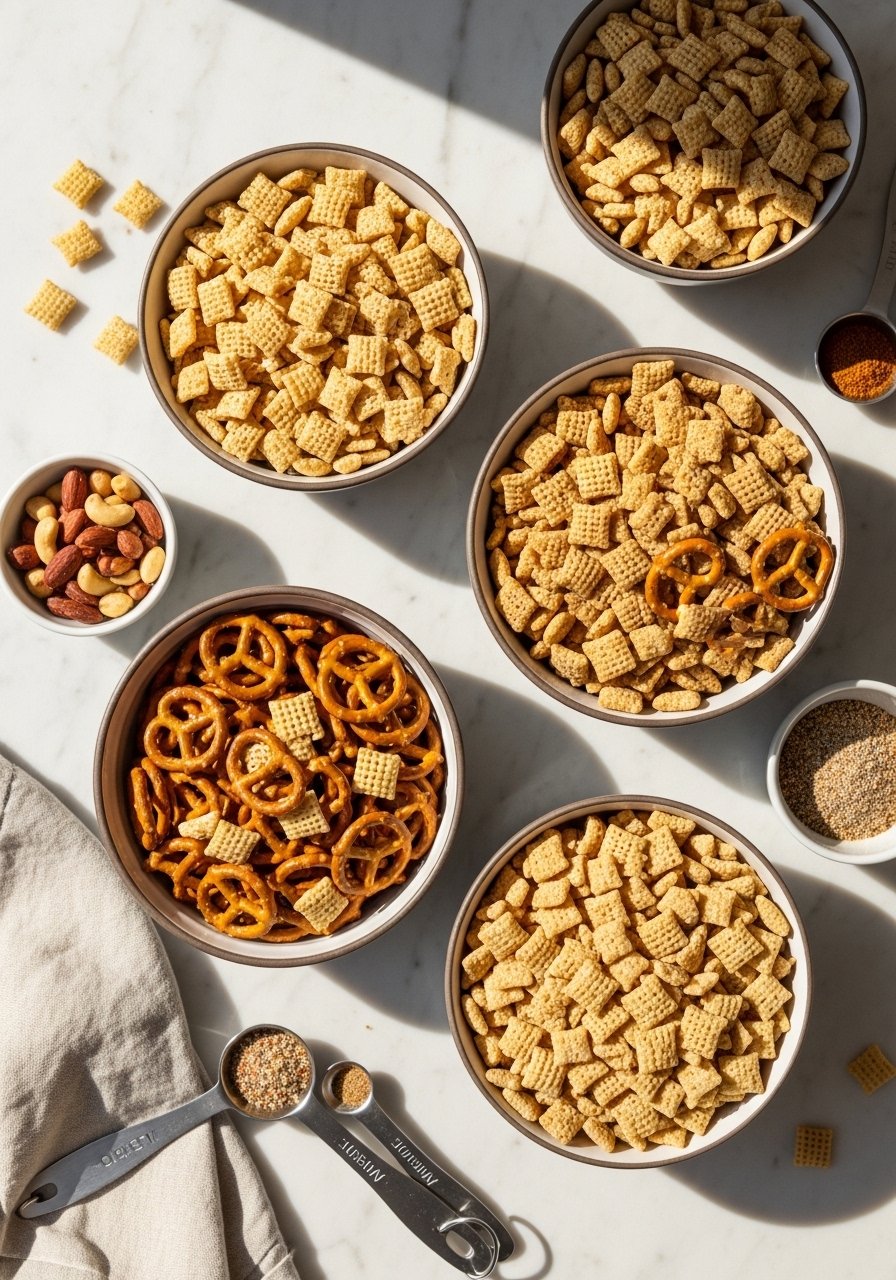
Measure precisely for even seasoning. For about 10–12 cups finished mix, combine:
- 3 cups Rice Chex, 3 cups Corn Chex, 3 cups Wheat Chex
- 2 cups small pretzels, 2 cups mixed nuts, 2 cups bagel chips or bite-size crackers
Prep liquids and spices in small containers so you can pour quickly and evenly:
- 1/2 cup (1 stick) butter, 1/4 cup Worcestershire sauce, 1 tsp seasoned salt, 1 1/2 tsp garlic powder, 1 tsp onion powder, 1/4 tsp cayenne (optional)
Quick tools that help here: a set of mixing bowls for dry and wet mixes, plus accurate measuring cups and measuring spoons to avoid under- or over-salting.
The Oven Baking Technique
This is where you learn how to make homemade Chex Mix from scratch that stays crunchy.
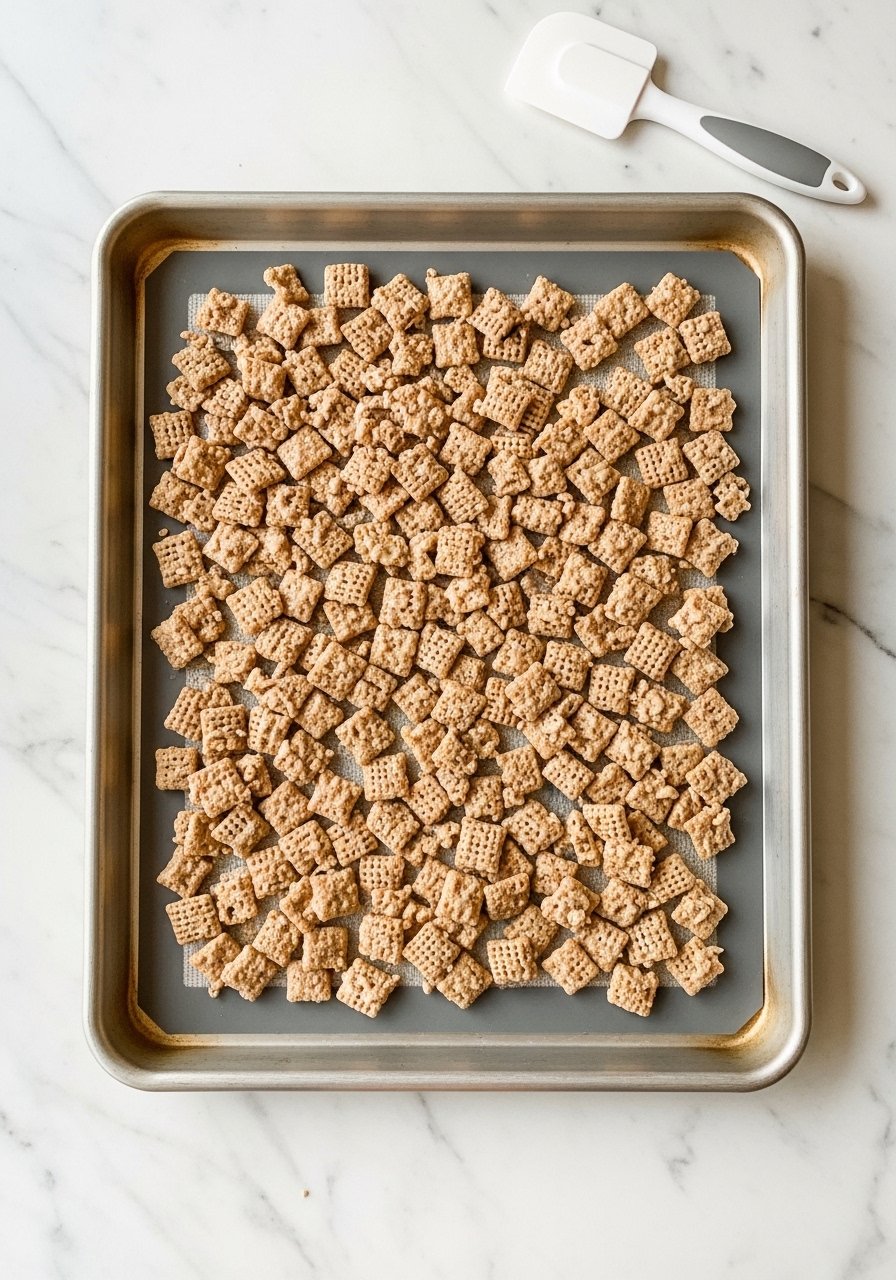
- Preheat oven to 250°F. Line a rimmed baking sheet with a silicone baking mat or parchment paper for easy cleanup.
- Melt butter, whisk in Worcestershire and spices until smooth. Pour over cereal in a large bowl and fold with a silicone spatula so every piece gets a thin coating.
- Spread the mix in an even layer on the sheet. Bake for 1 hour, stirring every 15 minutes to prevent hot spots.
Tip: Use an instant-read thermometer to confirm your oven holds 250°F—ovens vary and lower temps can make the mix greasy instead of crisp.
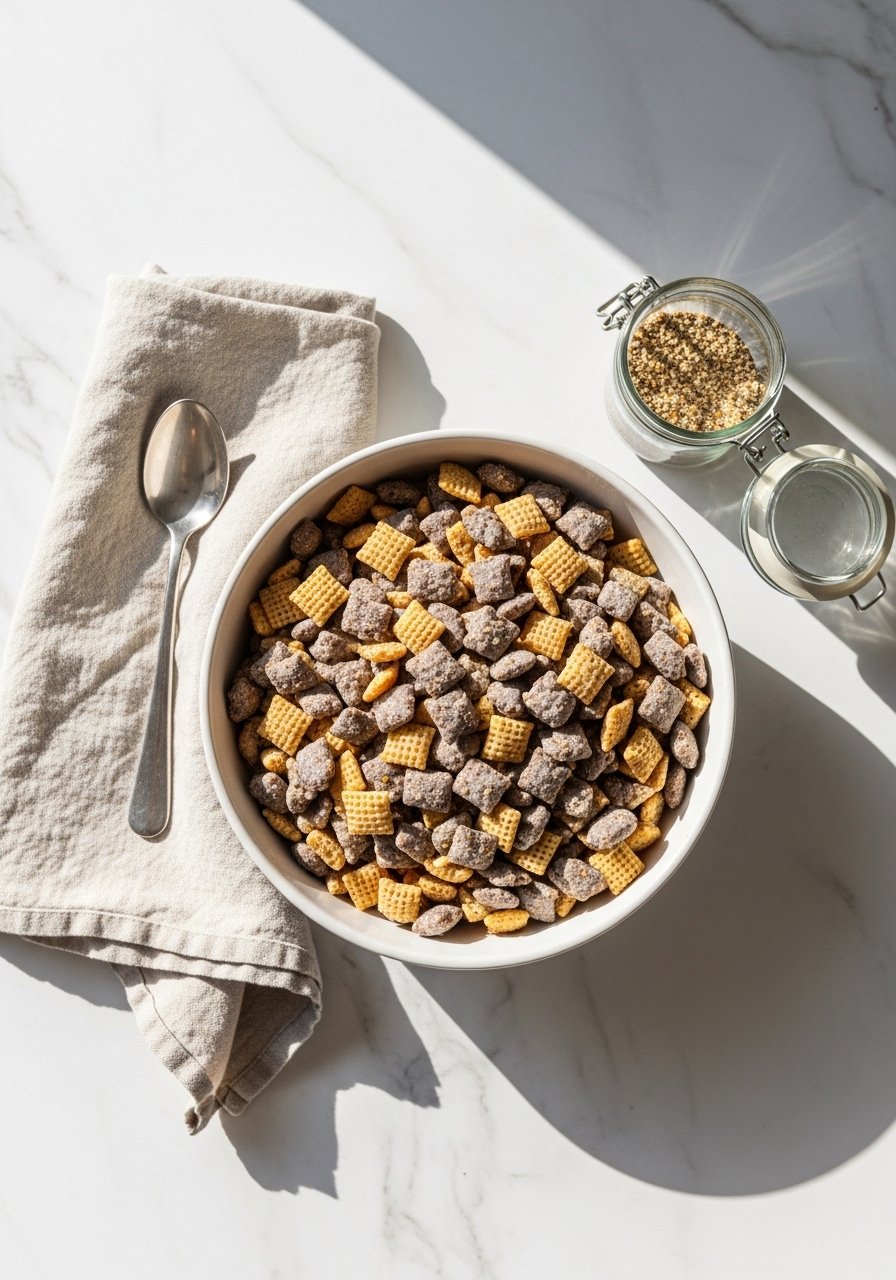
Getting Perfect Crunch & Flavor
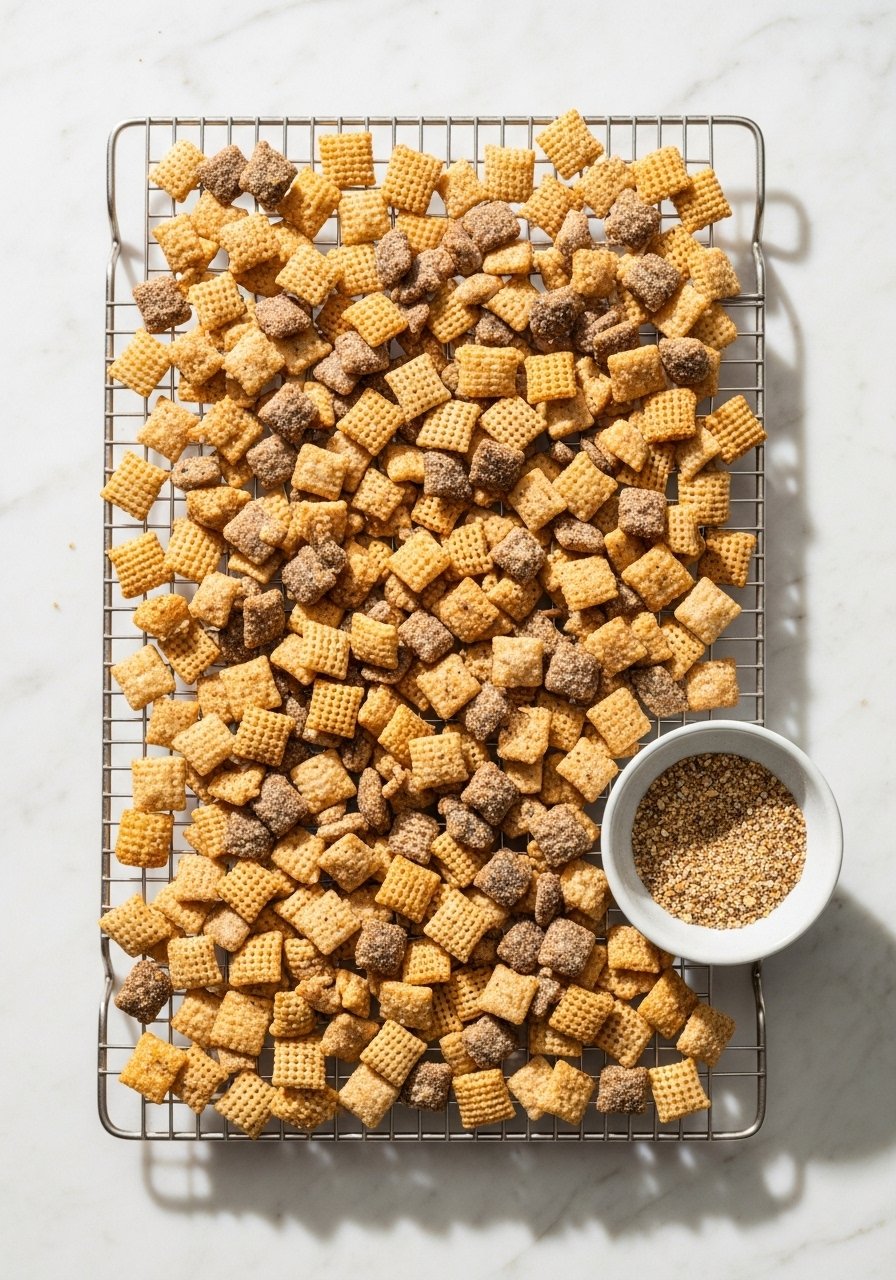
Cooling matters. Right out of the oven the mix is warm and soft; it crisps as it cools.
- Transfer the mix immediately to a wire cooling rack set over a sheet to cool in one thin layer.
- Taste after cooling and toss with extra 1/2 tsp seasoning if needed. Small adjustments make a big difference.
If you want to prep ingredients ahead, divide measured components into glass meal prep bowls so actual assembly and baking take under 10 minutes.
Finishing Touches and Storing (Meal Prep & Gifts)
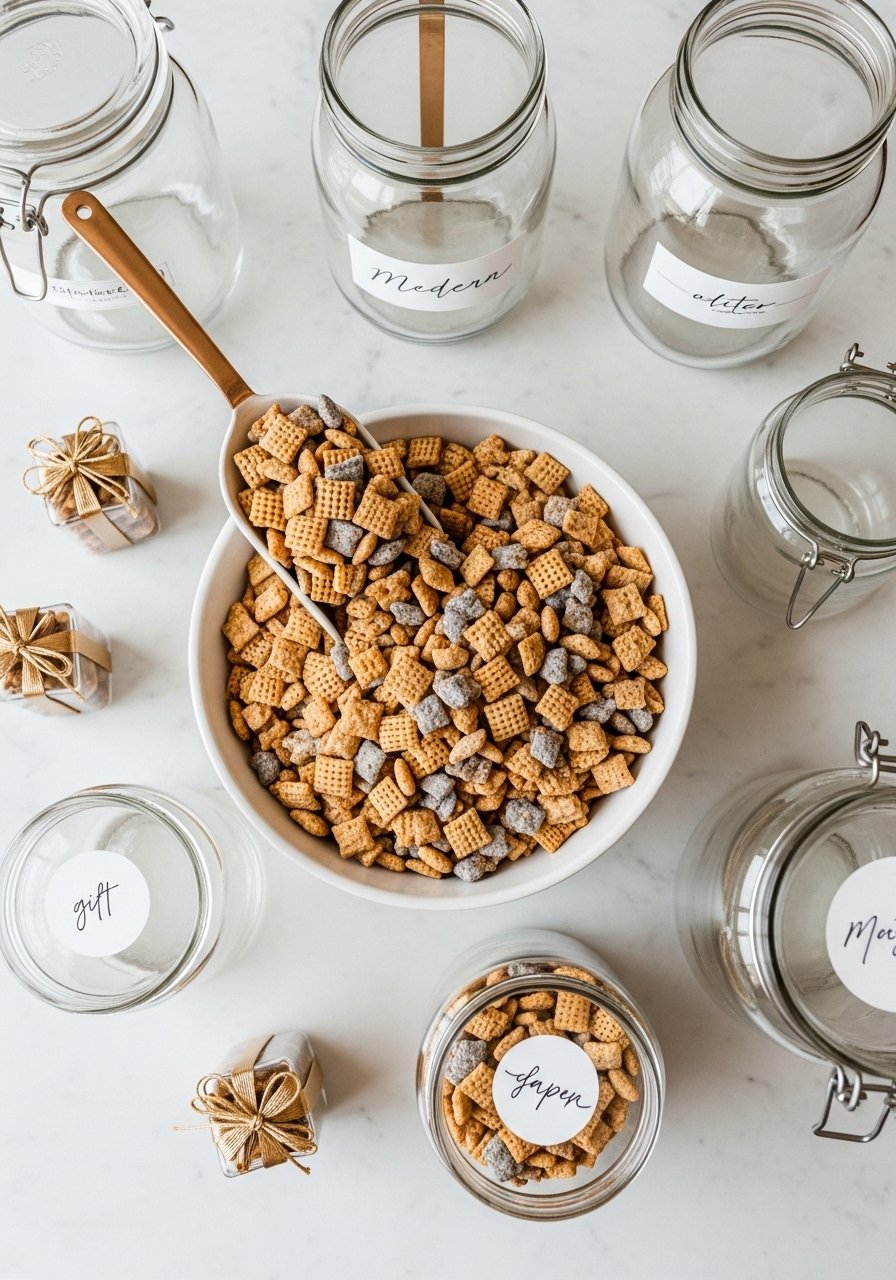
Store fully cooled mix in airtight containers:
- Keep fresh up to 2 weeks in airtight glass storage containers.
- Freeze portions up to 3 months in freezer bags; thaw at room temp for 30 minutes.
- Pack gifts in small glass jars with a ribbon for easy sharing.
Quick troubleshooting:
- Soggy mix? Bake a bit longer at 250°F in a single layer and make sure it's cooled on a rack.
- Too salty? Add unsalted cereal or more plain crackers to balance.
Enjoy this method whenever you want a crowd-pleasing snack. Pin this guide so you can find it when guests arrive—or when you need a crunchy, perfectly seasoned snack in under 90 minutes.
Once you’ve tasted this version of how to make homemade Chex Mix from scratch, you’ll notice the difference in texture and seasoning. Save this guide and grab a set of airtight glass storage containers so your batch stays crunchy. Pin this for parties, prep a double batch for snacks, and tell me—what flavor tweak will you try first?