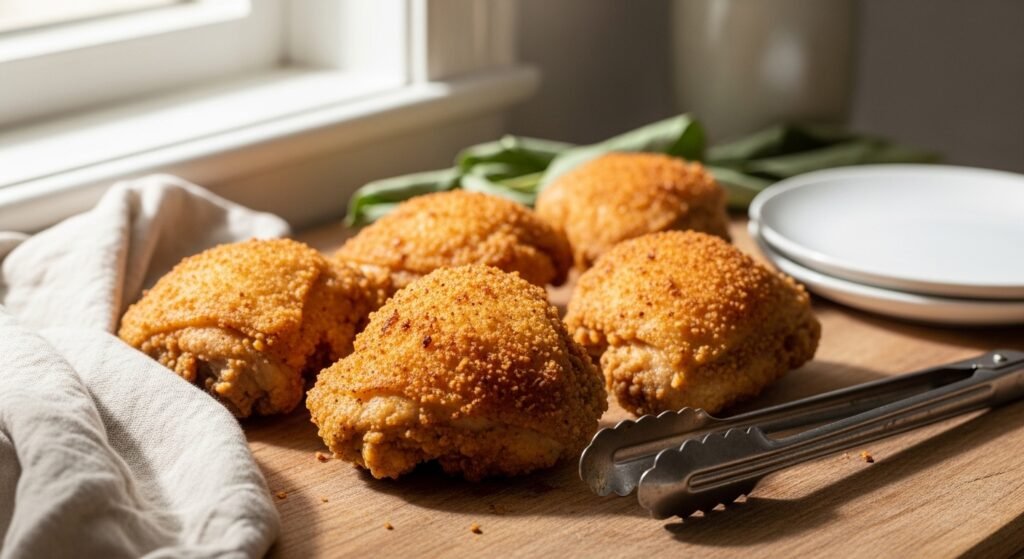
Craving restaurant-style fried chicken thighs but dread greasy results or uneven doneness? You’re not alone. Fried chicken thighs can be tricky: sticky breading, oil that’s too hot or too cool, and thighs that finish undercooked inside. This guide shows you how to make fried chicken thighs that are golden crispy, juicy, and ready for weeknight dinner or meal prep.
You’ll learn simple prep, frying technique, temperature checkpoints, and storage tips. The secret tools that cut stress are a sturdy 10-inch cast iron skillet for steady heat and an instant-read thermometer so you never guess doneness. With those, you’ll hit the crisp exterior and safe internal temp every time.
Follow the steps below—there are short cuts and product picks as you go—so you can fry with confidence and get delicious fried chicken thighs tonight.
Preparing Your Ingredients for Fried Chicken Thighs (easy prep)
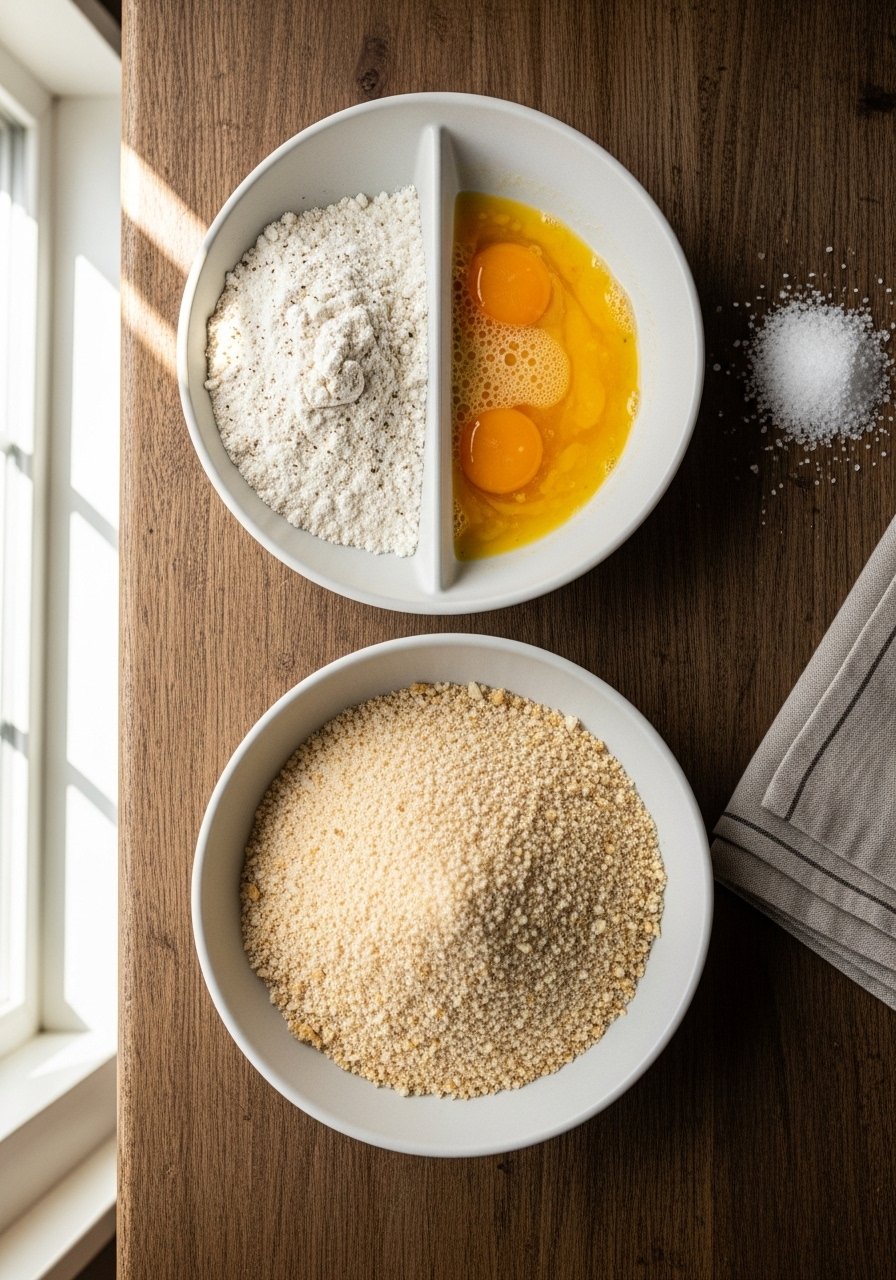
Start by trimming excess fat and patting thighs dry—dry skin = crisp skin. Use bone-in, skin-on thighs for the juiciest result. If you want even portions, weigh each thigh on a digital kitchen scale and group similar sizes.
- Season thighs with salt and pepper; rest 15–30 minutes for better flavor penetration.
- Set up a three-bowl dredge: seasoned flour, beaten eggs, and panko or flour mix.
- Use a set of stainless steel mixing bowls to keep your station tidy.
Tip: chill dredged pieces for 10 minutes on a tray to help the coating adhere.
The Frying Technique (master heat and timing)
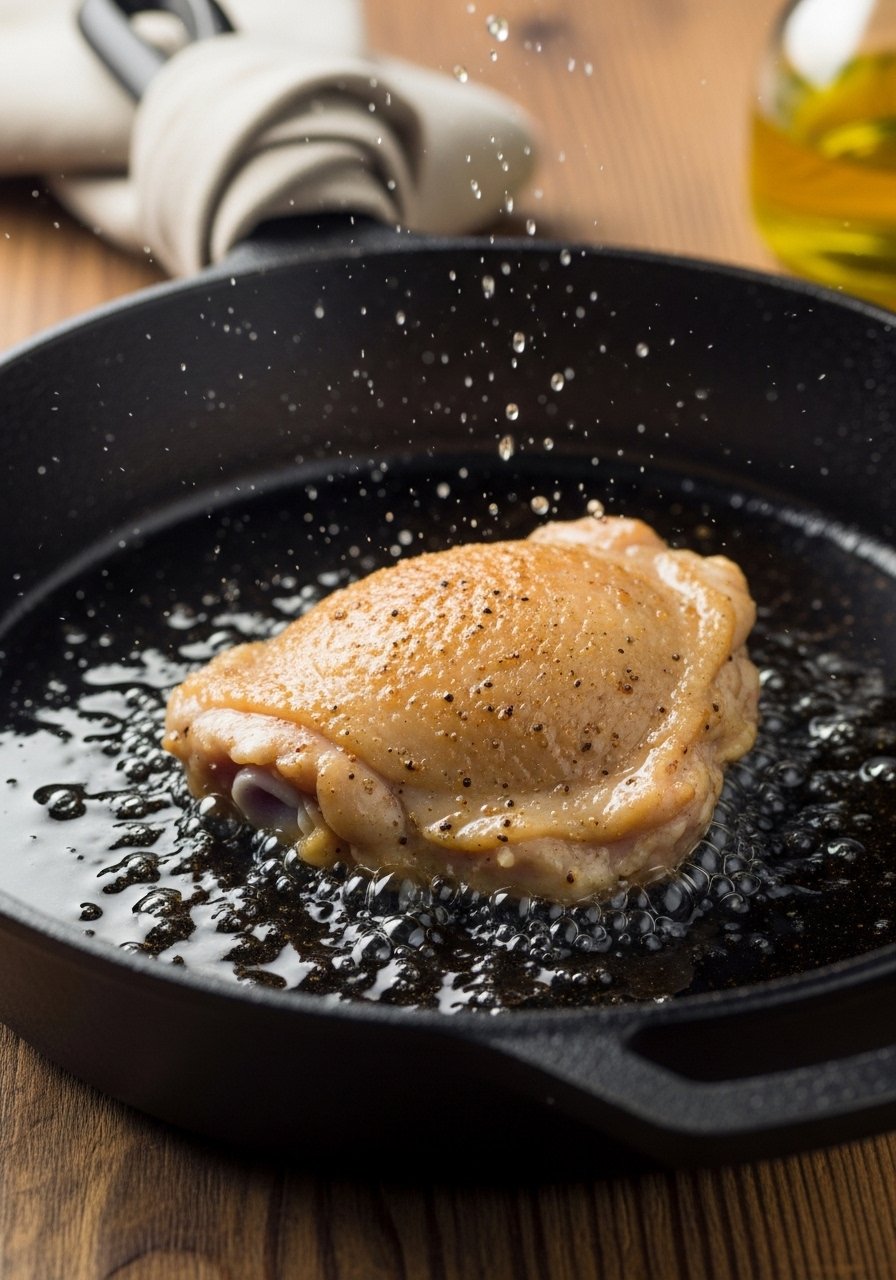
Heat matters. Aim for oil between 350–360°F to brown crust without burning. Use an oil or candy thermometer if you don’t trust stove settings.
- Add 1–1.5 inches of neutral oil (canola or peanut) to a 10-inch cast iron skillet and heat to 350–360°F.
- Working in batches, add thighs skin-side down. Don’t crowd.
- Fry bone-in thighs about 10–12 minutes total, flipping once halfway. Boneless thighs: 6–8 minutes.
- Use long tongs to turn pieces safely—try a pair of long-handled tongs.
- If oil temperature drops, increase heat briefly; if it spikes, lower the burner.
Check internal temps with an instant-read thermometer. Insert into the thickest part near the bone; 165°F is safe.
Getting the Perfect Crispy Texture (tips and troubleshooting)
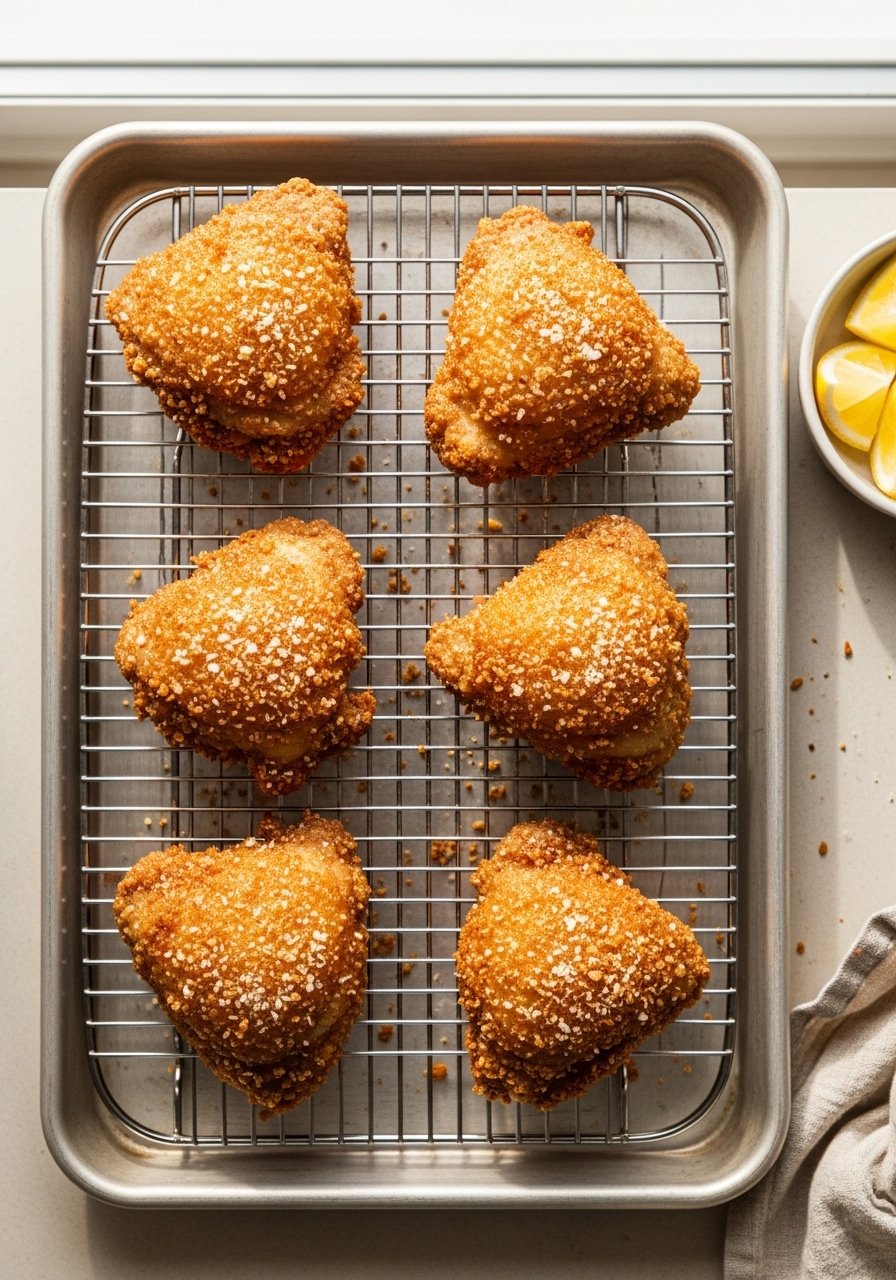
Keep thighs crisp by transferring them immediately to a wire cooling rack set over a rimmed baking sheet. This prevents soggy bottoms.
- If crust looks pale after cooking, return to 325–350°F oil for 1–2 minutes to finish.
- For extra crunch, mix a bit of cornstarch into the flour mix (about 1 tbsp cornstarch per cup flour).
- Line the baking sheet with parchment paper for easier cleanup.
Common mistake: frying too hot. If edges burn while interior is raw, lower the oil and finish in a hot oven at 375°F for 8–10 minutes.
Finishing Touches and Storage (meal prep and reheating)
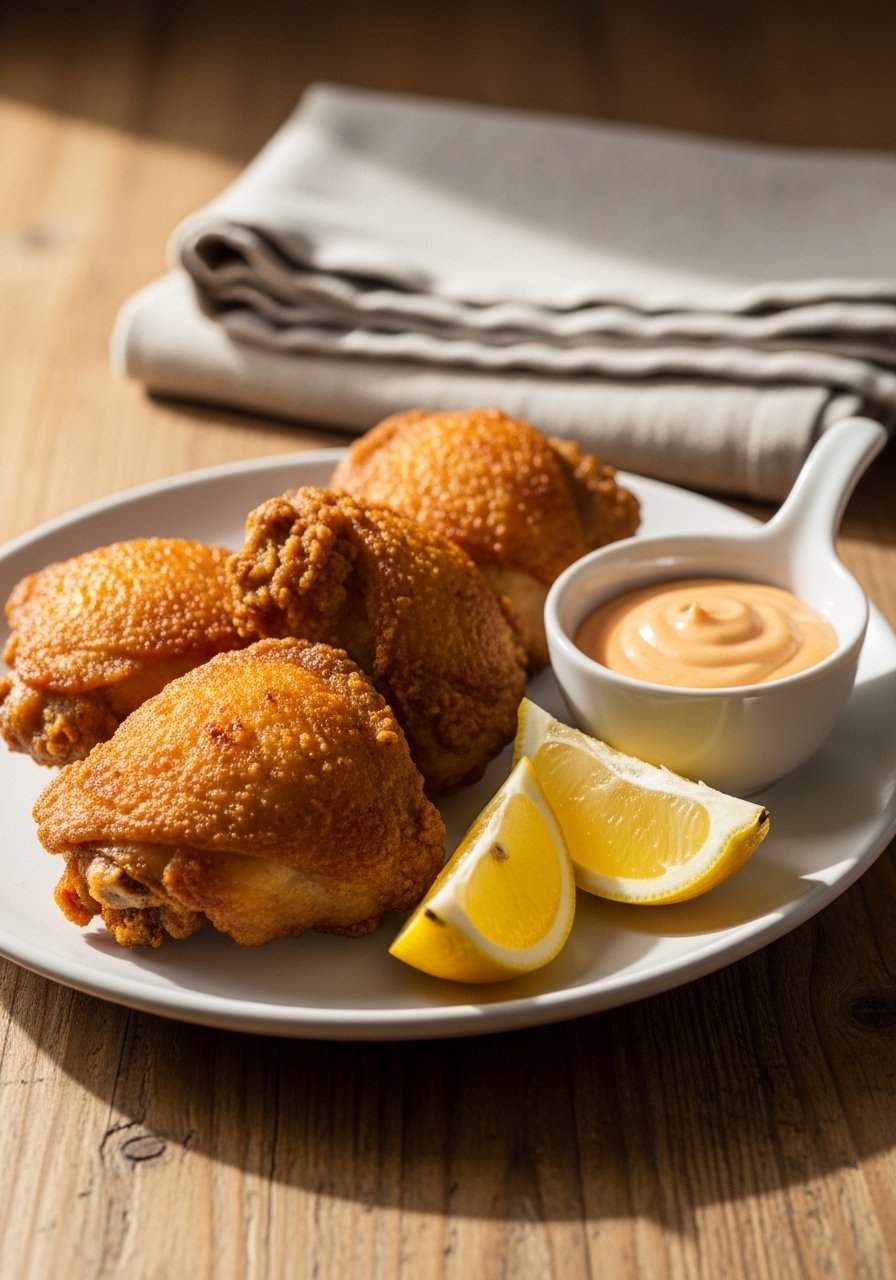
Let thighs rest 5 minutes before serving so juices redistribute. Serve with pickles, coleslaw, or mashed potatoes for a classic plate.
Storage tips:
- Cool fully, then store in airtight glass containers in the fridge up to 3–4 days.
- Freeze cooled pieces in labeled freezer bags flat up to 2 months.
- Reheat in a 375°F oven on a wire cooling rack for 10–15 minutes to restore crispness.
Quick meal-prep tip: double the batch and store in glass meal prep bowls for easy lunches.
The right tools make this simple: a reliable 10-inch cast iron skillet and a trusted instant-read thermometer keep results consistent.
Once you try this method, you’ll have a go-to recipe for golden, crispy fried chicken thighs that reheat well and feed a crowd. Pin this guide for your next dinner, save the tips, and tell me—will you fry bone-in or boneless thighs first?